How to Optimize Images For Web and Performance?

Optimizing images for the web is an essential process for website owners and developers. The process involves compressing and resizing images to improve website performance. Large, unoptimized images can slow page loading times, leading to a poor user experience and lower search engine rankings.
Optimized images offer several benefits for website owners, including faster loading times, improved user experience, and reduced bandwidth costs. By compressing images, website owners can significantly reduce the file size of images without compromising their quality. It speeds up page loading times and makes the website more user-friendly.
Several standard image optimisation techniques include compression, resizing, and choosing the correct file format. Compression reduces the file size of an image by removing unnecessary data while maintaining its quality. Resizing involves reducing the dimensions of an image to match the size required on the website. Choosing the correct file format is also crucial for optimizing images. For example, JPEG is suitable for photographs, while PNG is better for transparent images.
Tips To Optimize Images for Web and Performance?
Optimizing images is an essential process for website owners and developers. It offers several benefits, including faster loading times, improved user experience, and reduced bandwidth costs.
By employing standard optimization techniques such as compression, resizing, and choosing the correct file format, website owners can significantly improve the performance of their websites.
Optimizing images for the web is crucial for improving website performance and user experience. Large, unoptimized images can slow page loading times, leading to a poor user experience and lower search engine rankings. Here are some tips for optimizing images for the web:
1. Name your images descriptively and in plain language.
When optimizing images for the web, one crucial aspect is naming them descriptively and in plain language. It means using names that accurately reflect what the image depicts in a way that is easy for users and search engines to understand.
Search engines rely on image names to understand the content of a web page and rank it accordingly in search results. Website owners can increase their chances of appearing in relevant search results by using descriptive names for images.
Moreover, descriptive names can also improve accessibility for visually impaired users who rely on screen readers to navigate web pages. When images are named descriptively, screen readers can better describe the image to the user, providing a better user experience for all visitors.
Using keywords in image names that relate to the web page's content where the image is used is recommended. It means selecting relevant words or phrases that accurately reflect the page's image and content.
For example, if the web page is about "best hiking trails," the image name could include relevant keywords like "hiking trail" or "outdoor adventure." It helps search engines and users understand the image and page content.
In addition, it is essential to use plain language when naming images. Avoid using technical or obscure terms that may not be familiar to users or search engines. Instead, use clear and concise language that accurately describes the image.
Using descriptive and plain language names for images is an essential aspect of optimizing images for the web. By doing so, website owners can improve their chances of appearing in relevant search results and provide a better user experience for all visitors.
2. Choose the Right File Format
When optimizing images for the web, choosing the correct file format is crucial for both performance and image quality. Several standard file formats exist, including JPEG, PNG, GIF, and SVG.
JPEG (Joint Photographic Experts Group) is the most commonly used file format for photographs and other complex images. It uses lossy compression to reduce file size, meaning some quality is lost during compression.
The pros of using JPEG include its widespread compatibility and ability to maintain high image quality while significantly reducing file size. However, it is not suitable for images with transparency.
PNG (Portable Network Graphics) is the best file format for transparent images, such as logos and graphics. It uses lossless compression, meaning there is no loss of image quality during compression. The pros of using PNG include its ability to maintain high image quality and support for transparent backgrounds. However, it can produce larger file sizes than other formats.
GIF (Graphics Interchange Format) is best for simple, animated graphics. It uses lossless compression and supports transparency, making it a popular choice for social media and other online platforms. However, it has a limited colour palette and can produce lower-quality images than other formats.
SVG (Scalable Vector Graphics) is a vector-based file format best for images with text, shapes, and other graphic elements. It is resolution-independent, meaning it is scaled without losing image quality. The pros of using SVG include its small file size, scalability, and ability to maintain sharpness at any size. However, it may not be suitable for photographs or complex images.
2. Quality vs Size
When optimizing images for the web, there is often a trade-off between image quality and file size. Compression is a technique used to reduce the file size of an image, but it can also impact image quality.
There are two types of compression: lossless and lossy. Lossless compression reduces the file size without losing image quality, while lossy compression reduces the file size by removing specific details from the image.
To optimize compression settings for the best balance of quality and size, consider the following tips:
- Use lossless compression for images that require high levels of detail and clarity, such as logos and graphics.
- Use lossy compression for more extensive, complex images like photographs while paying attention to the degree of compression applied to ensure that the image quality is still acceptable.
- Try different compression settings to find the best balance between image quality and file size.
- Avoid compressing an already compressed image, as this can further degrade the image quality.
- Always use the appropriate compression format for the specific image, such as JPEG for photographs and PNG for graphics.
3. Understand Lossy vs Lossless Optimization
When optimizing images for the web, it is essential to understand the difference between lossy and lossless optimization techniques.
Lossless optimization is a technique that reduces the file size of an image without sacrificing any image quality. It is achieved by removing unnecessary data from the image file, such as metadata or colour information that is not visible to the human eye.
The resulting image is a replica of the original, with no loss of quality. Lossless optimization is best suited for images with text, logos, or other graphics requiring high detail levels.
On the other hand, lossy optimization is a technique that reduces the file size of an image by sacrificing some image quality. It is achieved by removing some of the details in the image that the human eye does not perceive easily.
Lossy optimization is best suited for images with many colours or complex gradients, such as photographs. While some image quality is sacrificed, the resulting file size is much smaller, allowing faster load times and better website performance.
When deciding whether to use lossy or lossless optimization techniques, it is essential to consider the specific needs of the image. Lossless optimization is ideal for images with text, logos, and other graphics requiring great detail and clarity.
Lossy optimization is ideal for larger, complex images like photographs, where a slight loss in image quality can be acceptable in exchange for a significant reduction in file size.
4. Resize Images to Scale
Resizing images to scale is an essential technique for optimizing images for the web. Large images can slow down website load times, leading to a poor user experience and decreased website performance. Resizing images to the appropriate dimensions can help reduce file size and improve website speed.
When resizing images, it is essential to maintain image quality. Here are some tips for scaling images without losing quality:
- Start with a high-resolution image: Resizing a low-resolution image can result in losing quality. Starting with a high-resolution image gives you more pixels and allows you to scale the image down without sacrificing quality.
- Use an appropriate image editor: Use an image editor that allows for resizing and scaling without sacrificing image quality, such as Adobe Photoshop or GIMP.
- Maintain aspect ratio: To avoid distortion when resizing an image, maintain the aspect ratio. Most image editors have a feature that allows you to maintain the aspect ratio while resizing.
- Preview the image: Preview the image at the final size to ensure it looks crisp and clear before publishing.
Resizing images to scale is an essential technique for optimizing images for the web. By using the appropriate image editor and maintaining the aspect ratio, website owners can ensure that their images maintain a good balance between quality and file size, resulting in a better user experience and improved website performance.
How To Optimize Images for Performance?
Optimizing images for the web is essential for improving website performance and ensuring a smooth user experience. Reducing image file sizes without compromising quality can enhance page load speed, reduce bandwidth usage, and create a visually appealing website.
Shrink.media provides an efficient solution for image compression, allowing you to optimize your images for web and performance easily. To optimize images using Shrink.media, follow these steps:
- Upload your images: Select the images you want to optimize and upload them to the Shrink.media platform.
- Choose compression settings: Shrink.media offers various compression settings to suit your needs. You can adjust the compression level to balance file size reduction and image quality.
- Start the compression process: Once you have chosen the desired compression settings, initiate the compression process. Shrink.media will automatically optimize your images, reducing file sizes and preserving visual quality.
- Download the optimized images: After the compression process, you can download the optimized images. These images will have smaller file sizes, making them ideal for web use without compromising their visual appeal.
By using Shrink.media's image compression capabilities, you can optimize your website's images for faster loading times and improved performance. This helps to enhance user experience, reduce bounce rates, and improve your website's search engine rankings. With Shrink.media's user-friendly interface and efficient compression algorithms, optimizing images for web and performance becomes hassle-free.
Experience the benefits of optimized images by utilizing Shrink.media's compression services and enjoy a faster, more efficient website that captivates your audience.
The Benefits of Optimizing your Images
Formatting your images brings numerous benefits that enhance your website's performance and user experience. Let's explore some of the key advantages:
Improved Page Load Speed: By formatting your images correctly, you can significantly reduce their file sizes, resulting in faster loading times for your web pages. This is crucial because users tend to abandon websites that take too long to load, leading to higher bounce rates and lower engagement.
- Enhanced User Experience: Optimized images create a smoother and more enjoyable browsing experience for your website visitors. With faster loading times, users can navigate through your content seamlessly, improving their overall satisfaction and encouraging them to stay longer on your site.
- Search Engine Optimization (SEO) Benefits: Well-optimized images can positively impact your website's search engine rankings. Search engines consider page load speed as a ranking factor, and by optimizing your images, you contribute to improving your site's performance, which can lead to higher visibility in search results.
- Mobile-Friendly Experience: With the increasing number of users accessing websites through mobile devices, image optimization becomes even more crucial. By reducing image file sizes, you ensure that your website remains responsive and accessible on different devices, providing a seamless experience for mobile users.
- Bandwidth and Storage Savings: Optimized images consume less bandwidth and require less storage space on your server. This is particularly beneficial if you have limited hosting resources or are operating on a budget. By reducing the size of your images, you can optimize your website's performance without exceeding your hosting limits.
Formatting your images brings tangible benefits such as faster page load speed, improved user experience, better search engine visibility, mobile-friendliness, and savings in bandwidth and storage.
By investing time and effort in optimizing your images, you can create a website that not only looks visually appealing but also performs optimally, enhancing the overall success of your online presence.
Tools for Resizing Images
When it comes to sharing images online, resizing is essential to ensure that your photos fit the required dimensions of the platform you're using. Fortunately, plenty of tools are available for resizing images, ranging from free online tools to more advanced software programs. These tools allow you to quickly and easily resize your images without losing quality or resolution.
Many resizing tools include additional features like cropping, editing, and batch processing. Some are perfect for beginners who want to resize their images quickly and easily, while others offer more advanced features for professional photographers or designers.
Whether you need to resize images for social media, email, or your website, a tool can help you do it quickly and efficiently. In this age of visual content, it's essential to ensure your images look their best, and resizing them to the correct dimensions is a crucial part of that process. So why take advantage of the many tools available and start resizing your images today?
1. Shrink.media
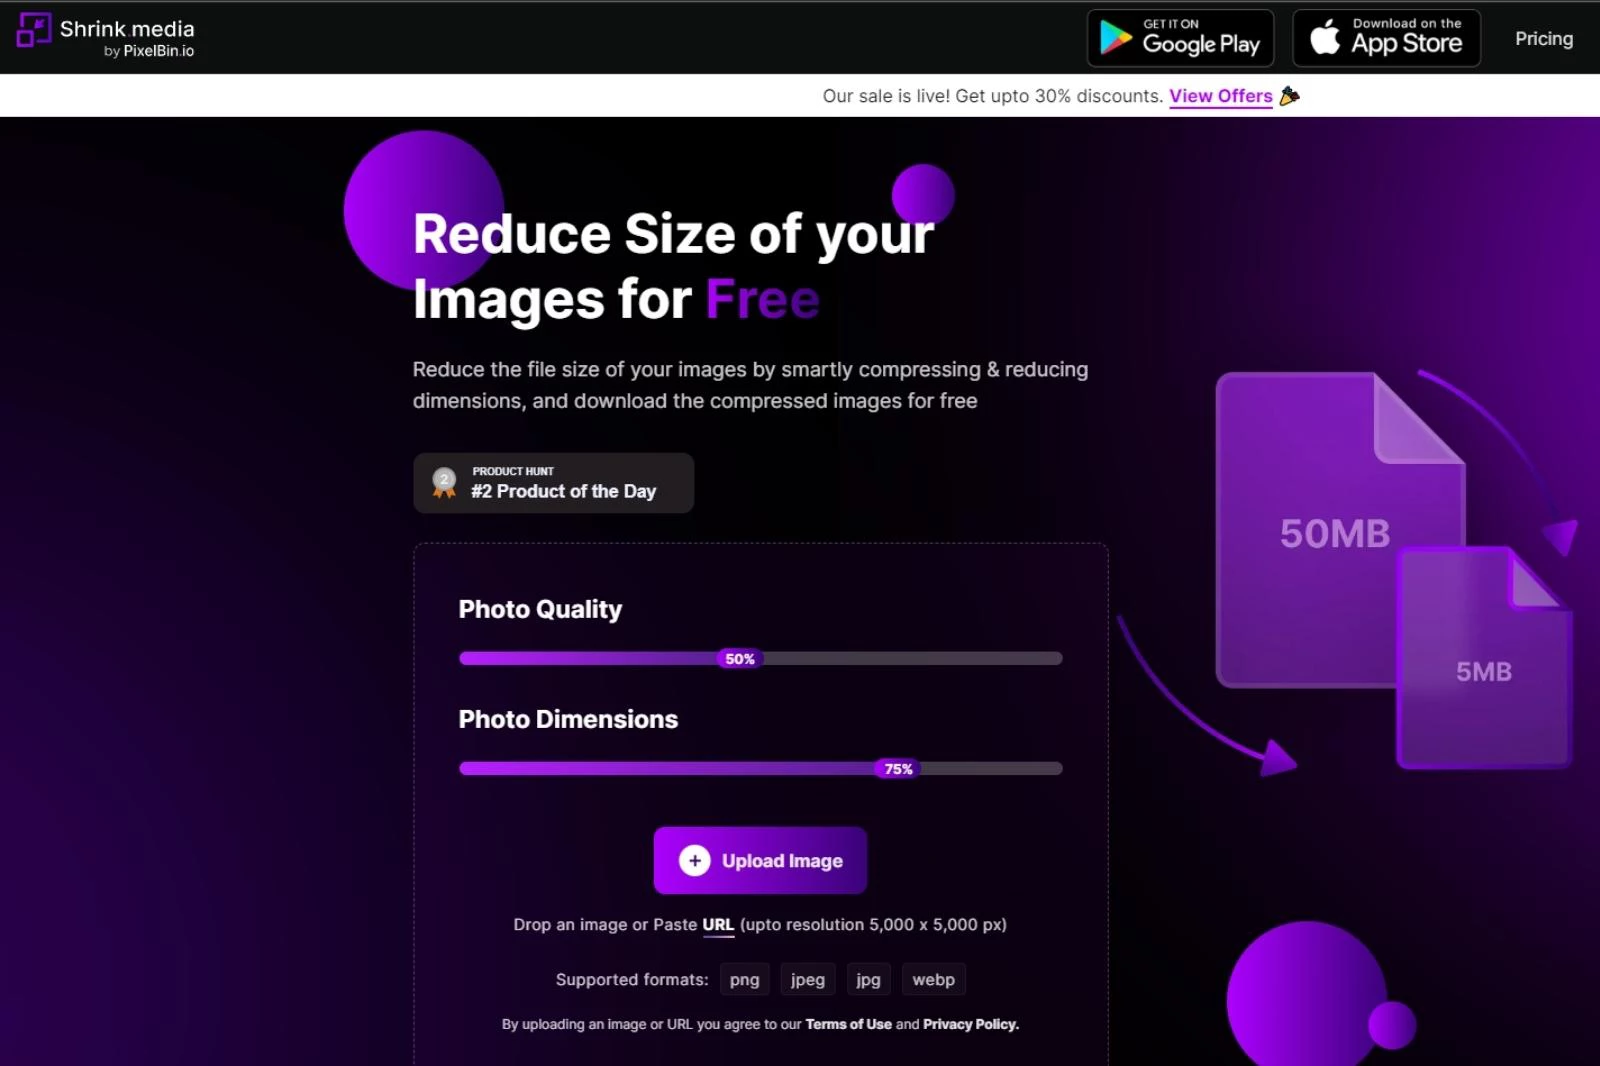
Shrink.media is a powerful image optimization tool that helps website owners reduce file sizes without sacrificing image quality. This product by Pixelbin supports popular image formats like png, jpeg, jpg and webp, making optimizing a wide variety of images easy.
The benefits of using Shrink.media are numerous. By reducing file sizes, website owners can significantly improve website speed and performance, leading to a better user experience. Additionally, smaller file sizes mean that websites use less bandwidth, which can result in cost savings for website owners.
Shrink.media is just one of the many products offered by Pixelbin, a company dedicated to creating robust image optimization and editing tools. In addition to Shrink.media Pixelbin offers other tools like a watermark remover, image upscaler, and background remover. With these tools, website owners can easily optimize and edit their images to create a more engaging and professional website.
Shrink.media is an excellent choice for website owners who want to improve website speed and performance by reducing file sizes. With support for popular image formats, Shrink.media is a versatile and powerful tool for optimizing images.
As a product by Pixelbin, website owners can trust that they are using a reliable and high-quality tool for all their image optimization needs. Reducing the file size of your images is essential for optimizing your website's speed and performance.
Here's a step-by-step guide on how to use Shrink.media to reduce the file size of your images:
Step 1 - Visit the Shrink.media website or download the app from the Appstore (iOS) or Google Play Store (Android). The website and app are free to use and don't require any registration.

Step 2 - Upload the image you want to compress by clicking the 'Upload Image' button. You can upload images in PNG, JPEG, JPG and WebP formats.
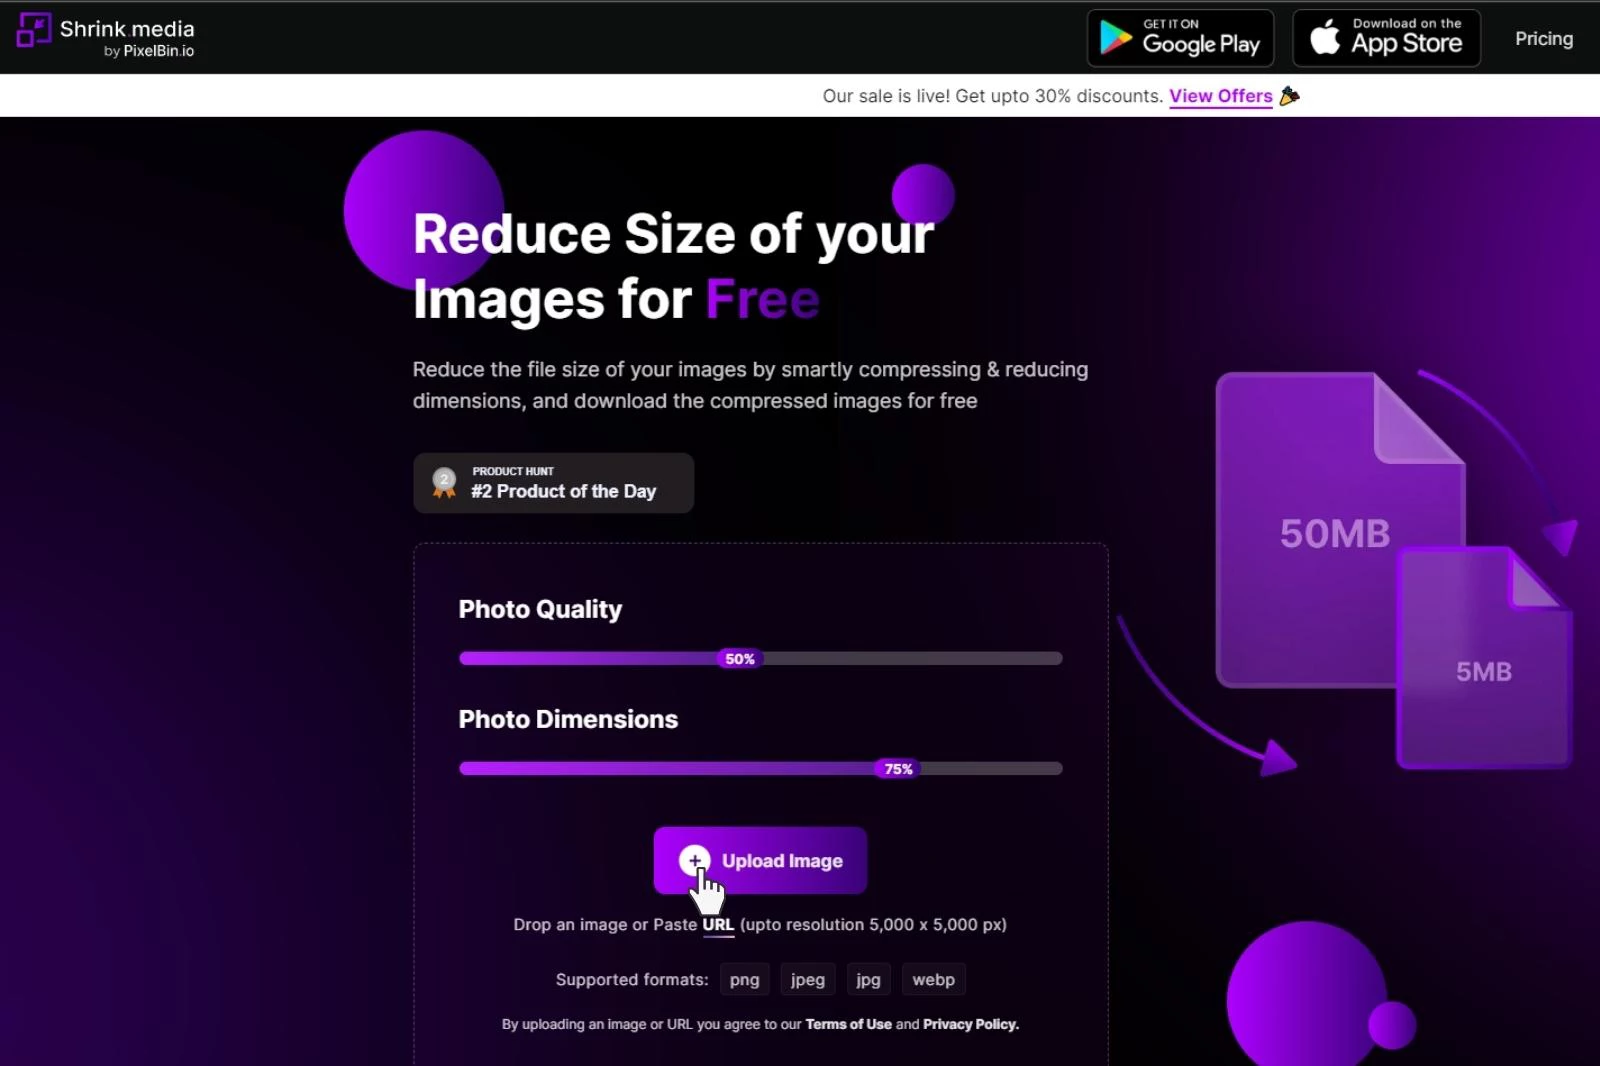
Step 3 - Adjust the 'Photo Quality' and 'Photo Dimensions' sliders according to your requirements. You can reduce the photo quality to a minimum of 10% and adjust the photo dimensions using sliders.
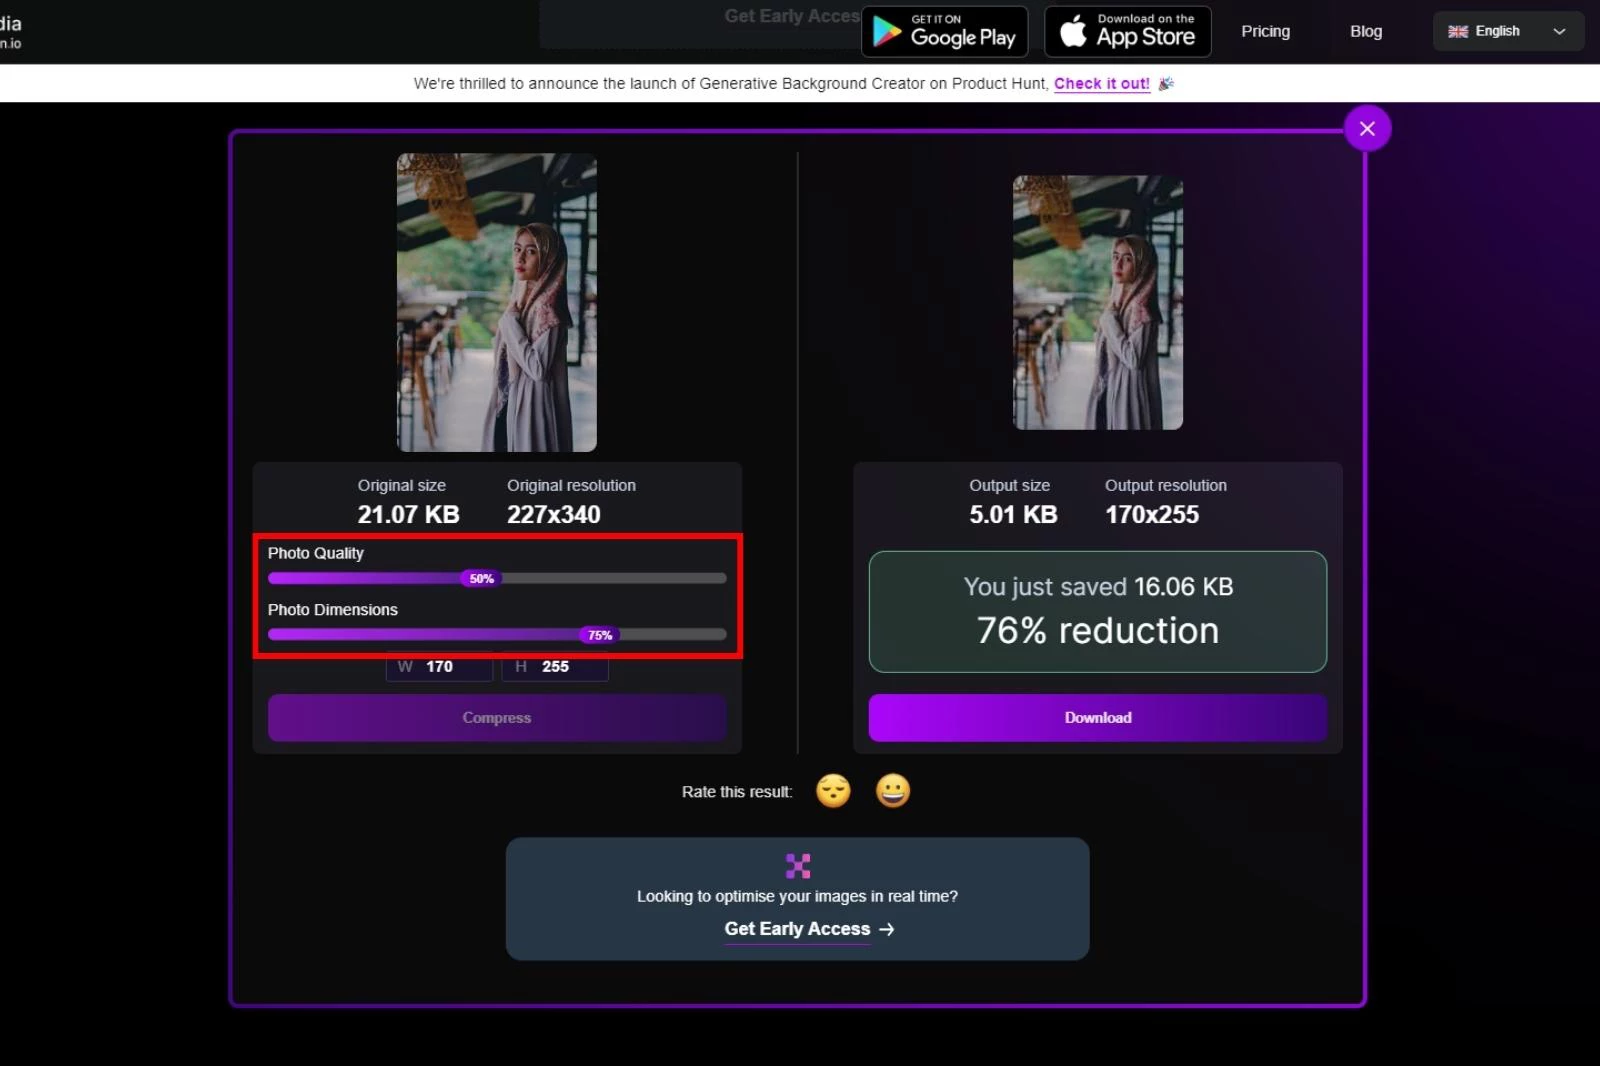
Step 4 - Start the compression process by clicking the 'Compress' button. Within 2-3 seconds, the compressed image and the file size reduction percentage are displayed on the screen.
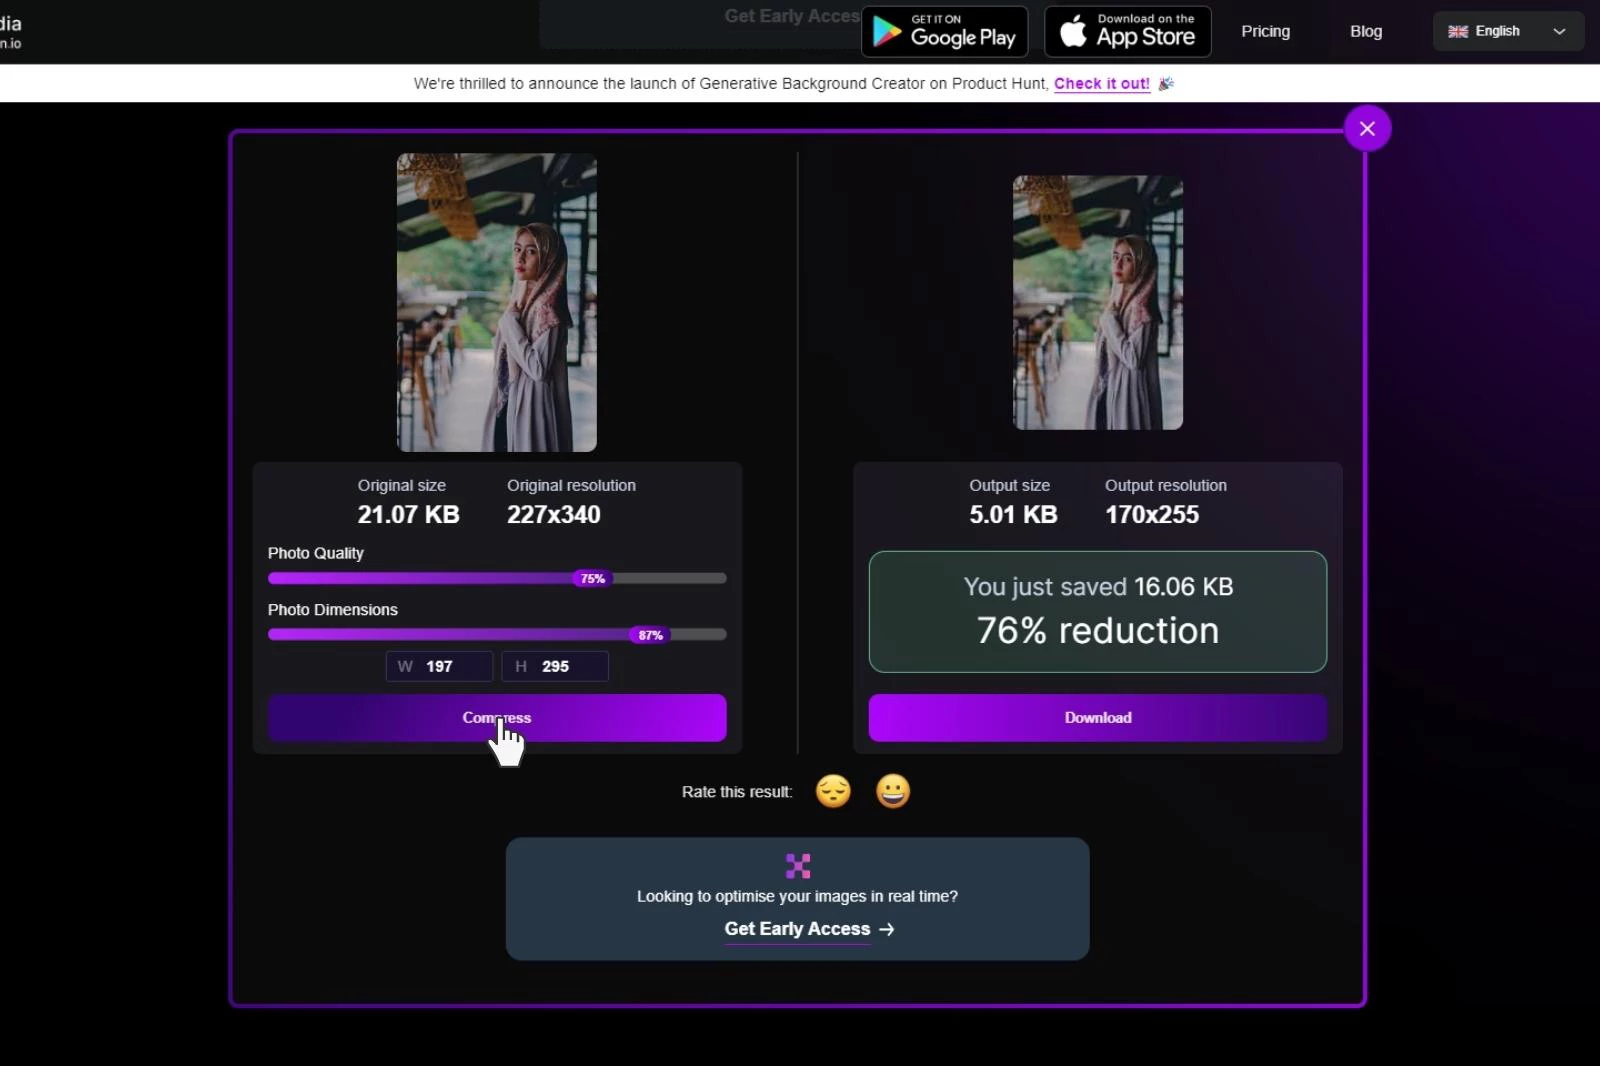
Step 5 - If you're satisfied with the compressed image, click the 'Download' button to save it to your device. You can also share the compressed image directly from the website or app using social media buttons.
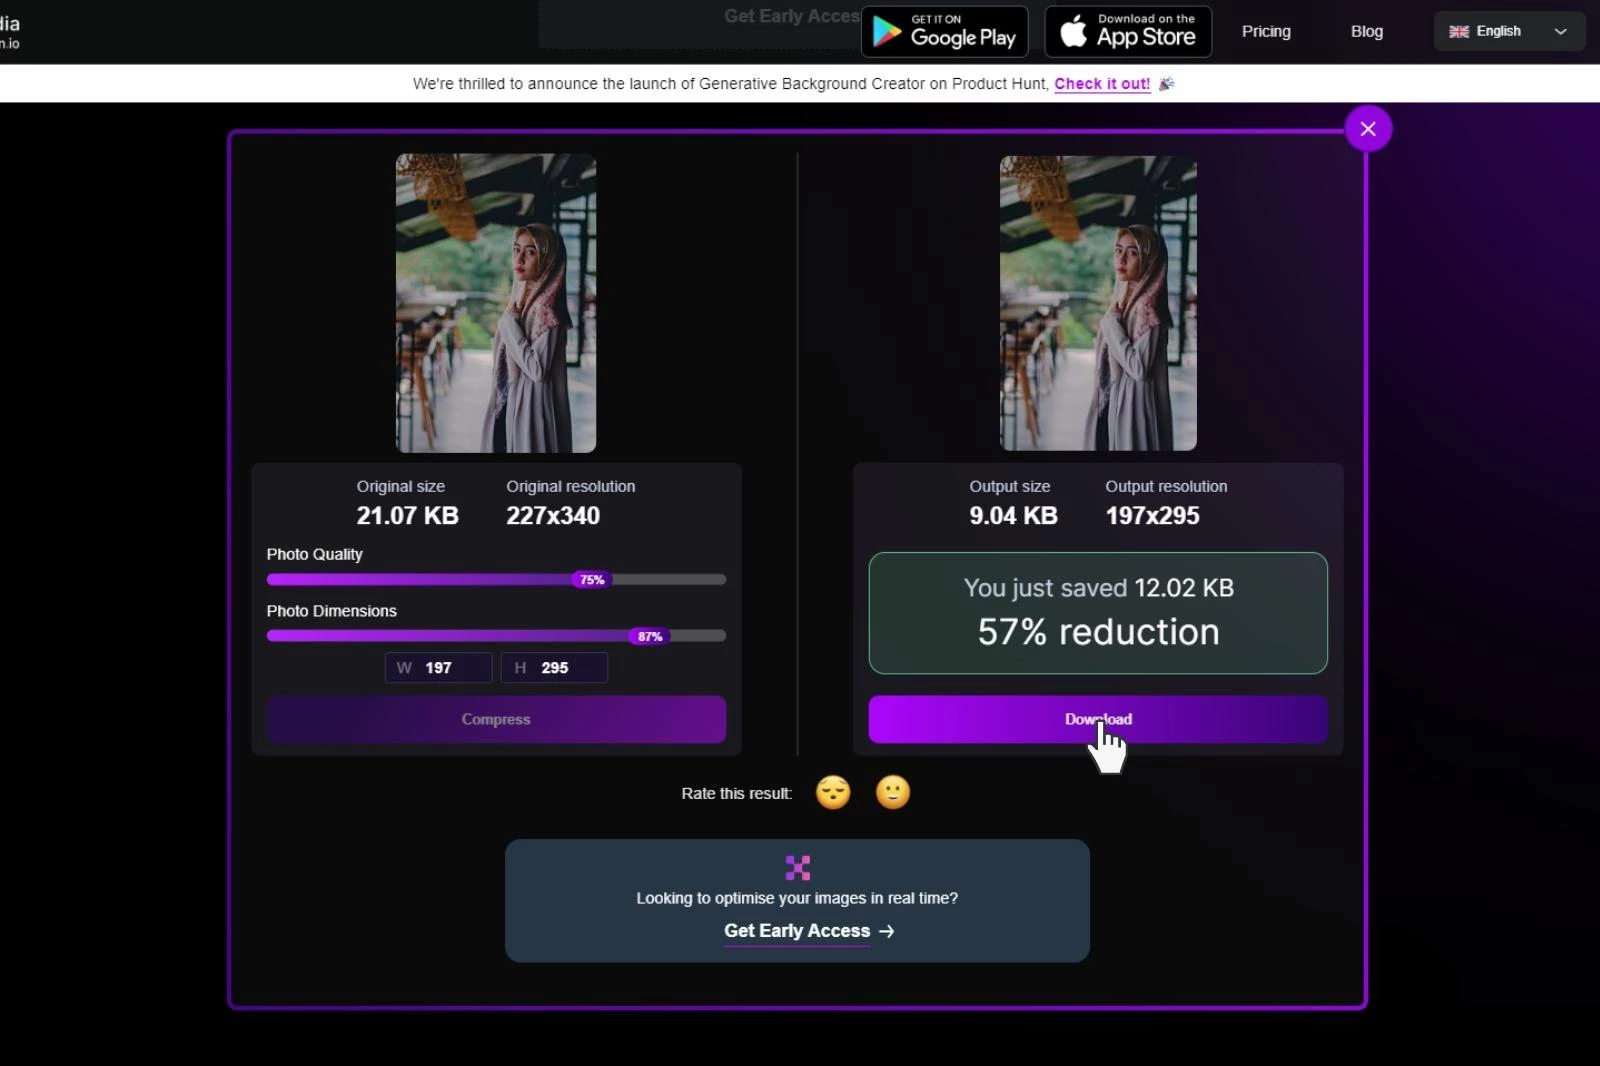
That's it! With just a few clicks, you can reduce the file size of your images and optimize your website's speed and performance. Shrink.media makes it easy to compress images without sacrificing quality, ensuring your website looks great and loads quickly for your visitors.
2. Adobe Express
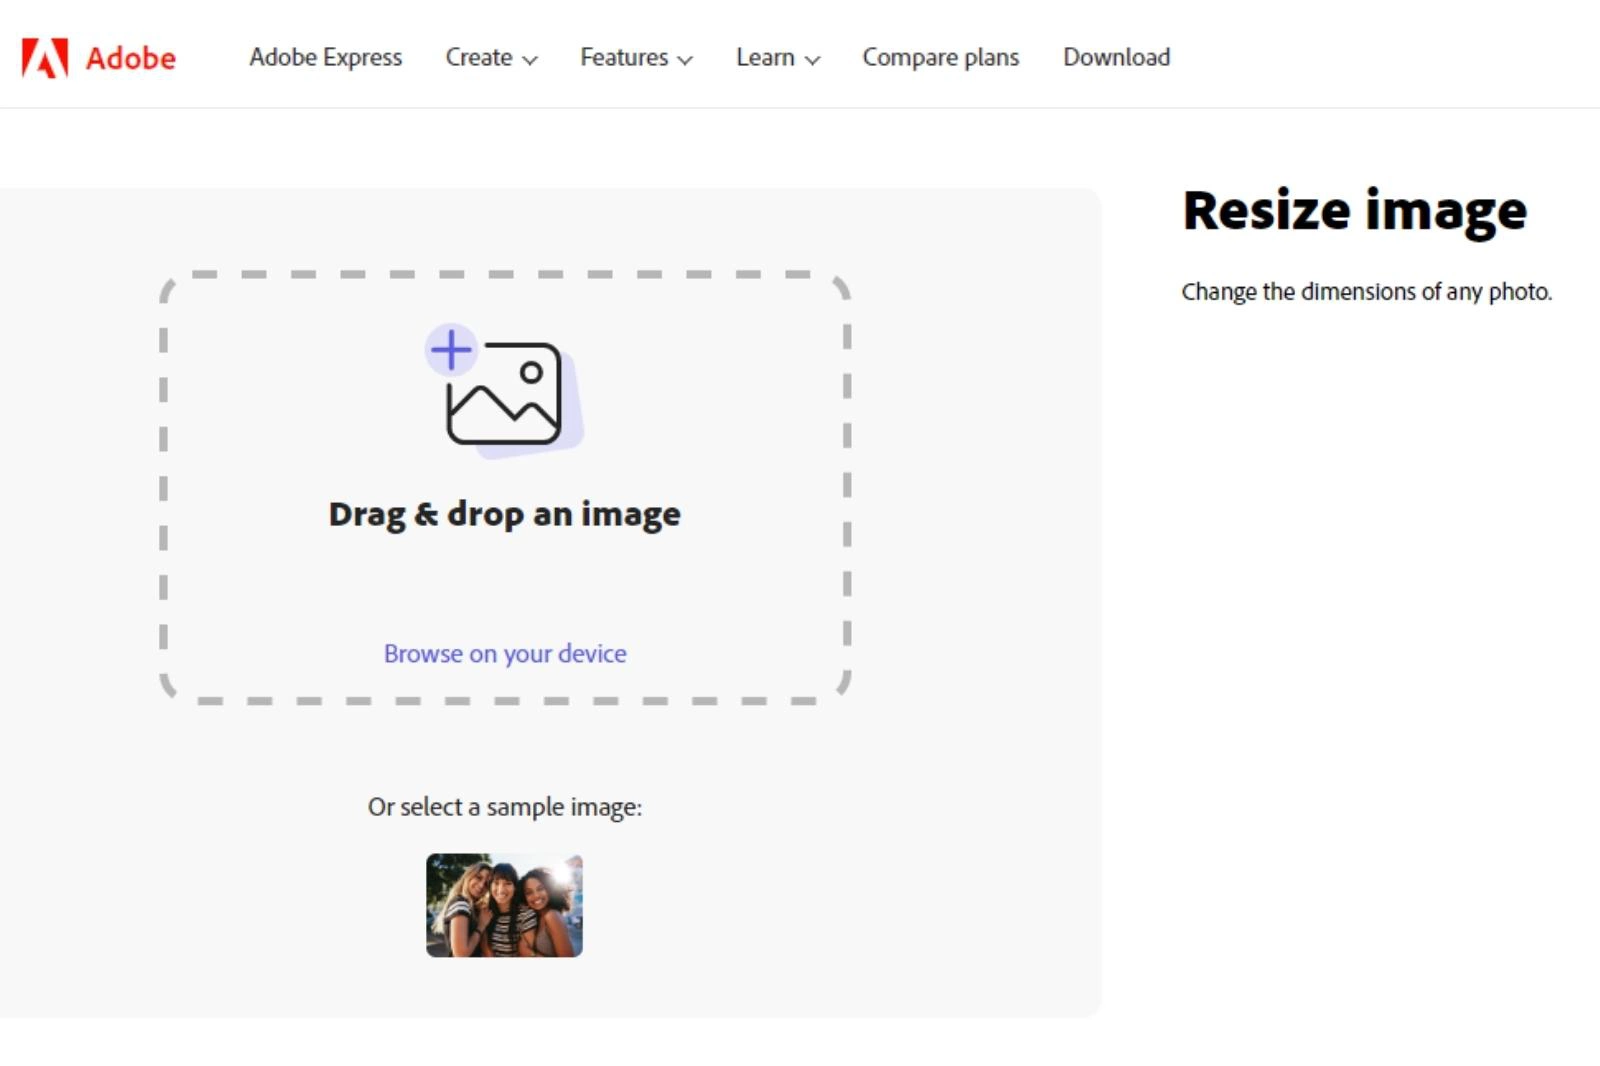
Adobe Express is a fantastic web-based tool that allows you to quickly and easily resize your images to optimize them for social media or print. One of the key advantages of this service is its ability to automatically select the best size for various social media platforms such as Facebook, Instagram, or YouTube.
By simply indicating where you plan to post your picture, the service will crop your image to the required size. Adobe Express also allows optimizing high-resolution pictures before uploading them to your website. It supports the most commonly used photo sizes, making it easy to get a passport photo in just a few clicks.
The service also enables you to crop your pictures, print them, and frame them without worrying about dimensions. With Adobe Express, you can ensure that your images are the perfect size for any platform without compromising quality.
3. Social Image Resizer Tool
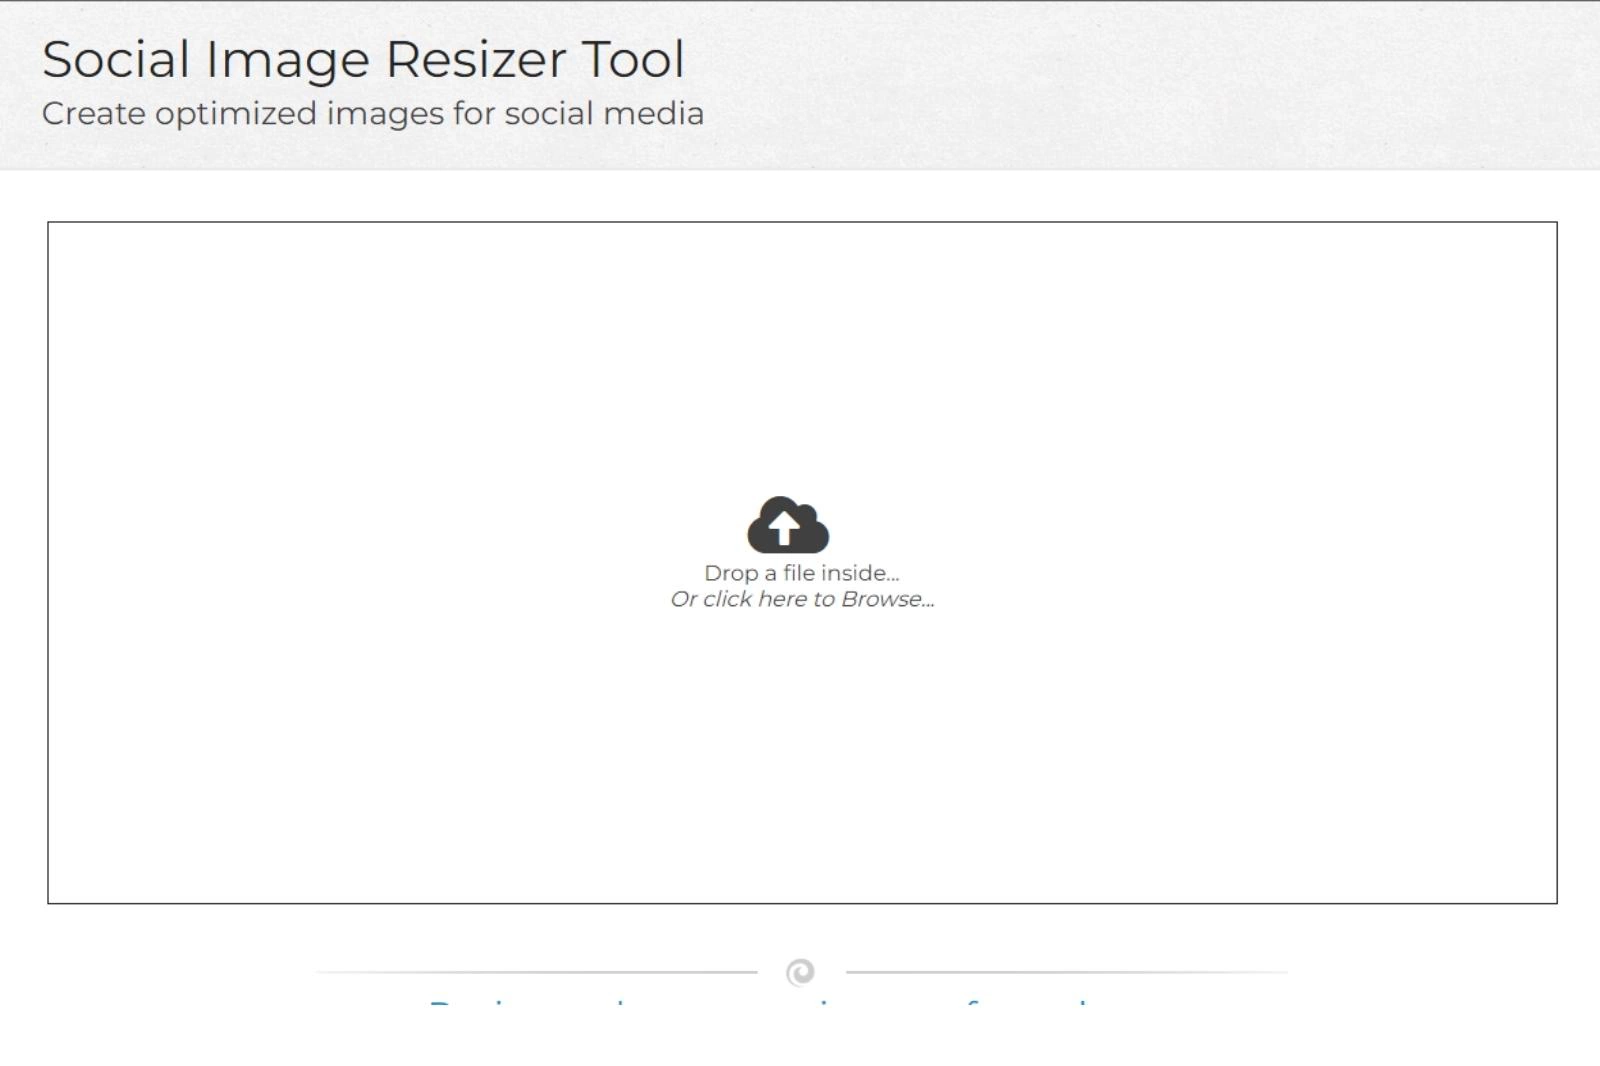
Social Image Resizer Tool is a fantastic free image resizer software designed to help you improve your social media presence. With this tool, you can upload any image and specify what you want to do with it. The service provides options for profile and covers images, thumbnails for videos and albums, and any other kind of art for a wide range of social media platforms.
One of the key advantages of the Social Image Resizer Tool is its ability to ensure that your images are not too heavy to be uploaded. It means that you don't have to worry about the size or weight of your image, as the service will automatically optimize it for social media.
Overall, Social Image Resizer Tool is an excellent choice for anyone looking to improve their social media presence without worrying about the technical details of image optimization. With its simple and intuitive interface, anyone can use it to make their social media profiles stand out.
4. Promo Image Resizer
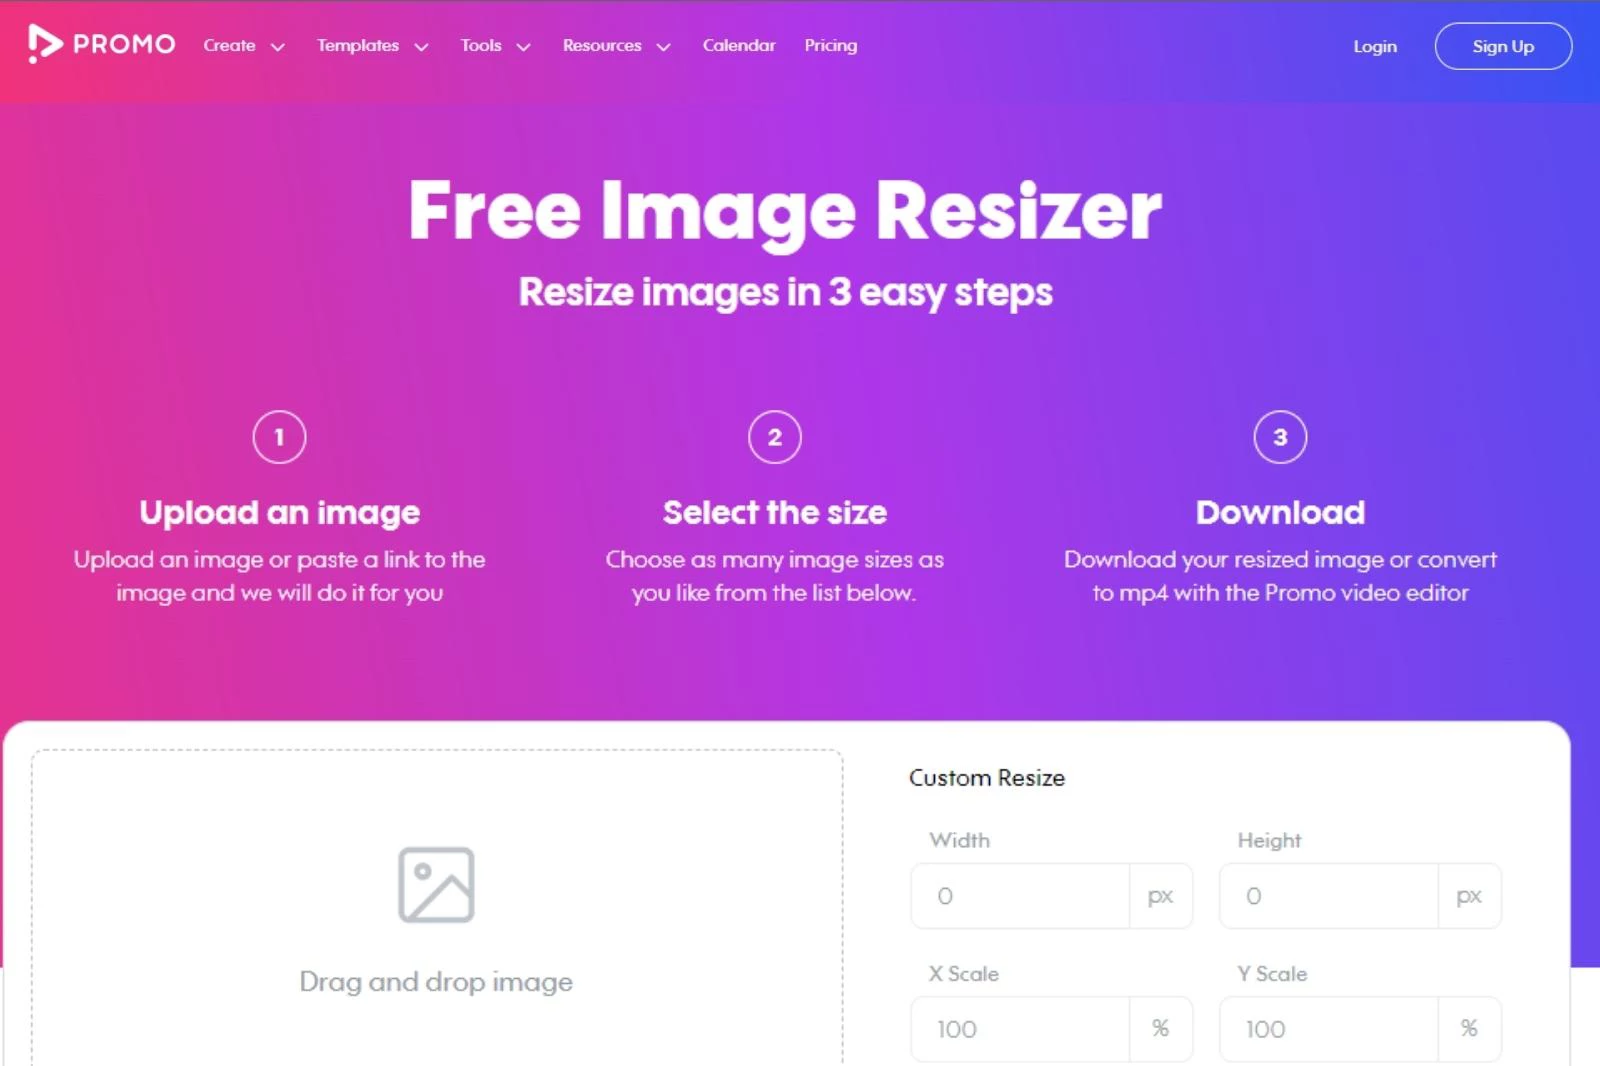
Promo Image Resizer is a user-friendly service that allows you to easily resize your images for various social media platforms, email, blogs, and advertising formats. With its drag-and-drop interface, you can quickly upload photos and choose from over 60 image sizes, including ready-made templates for popular social media platforms like Instagram, Facebook, and LinkedIn.
You can also specify whether you want to resize the entire image or just a part of it. This service is perfect for social media managers who need to resize images for different platforms quickly. Once your image is ready, you can easily download it to your device. However, it is essential to note that no information about the service's privacy policy is available.
5. Photo Resizer

Photo Resizer is a free photo resizing software that offers creative capabilities and tools for shaping and improving your images. With the ability to draw freely or add simple geometric shapes to your images, you can highlight specific areas or add text to guide users to the content they seek.
Resizing for a particular internet platform is simple. It takes only a couple of clicks, but this software also offers a few editing instruments, including a sharpening option, to further enhance the quality of your images.
While occasionally it can misbehave, Photo Resizer is an excellent choice for those looking for a free tool to resize and improve their images. With its user-friendly interface and a range of features, this software is perfect for bloggers, social media managers, and anyone who wants to resize and improve their images quickly.
6. BeFunky
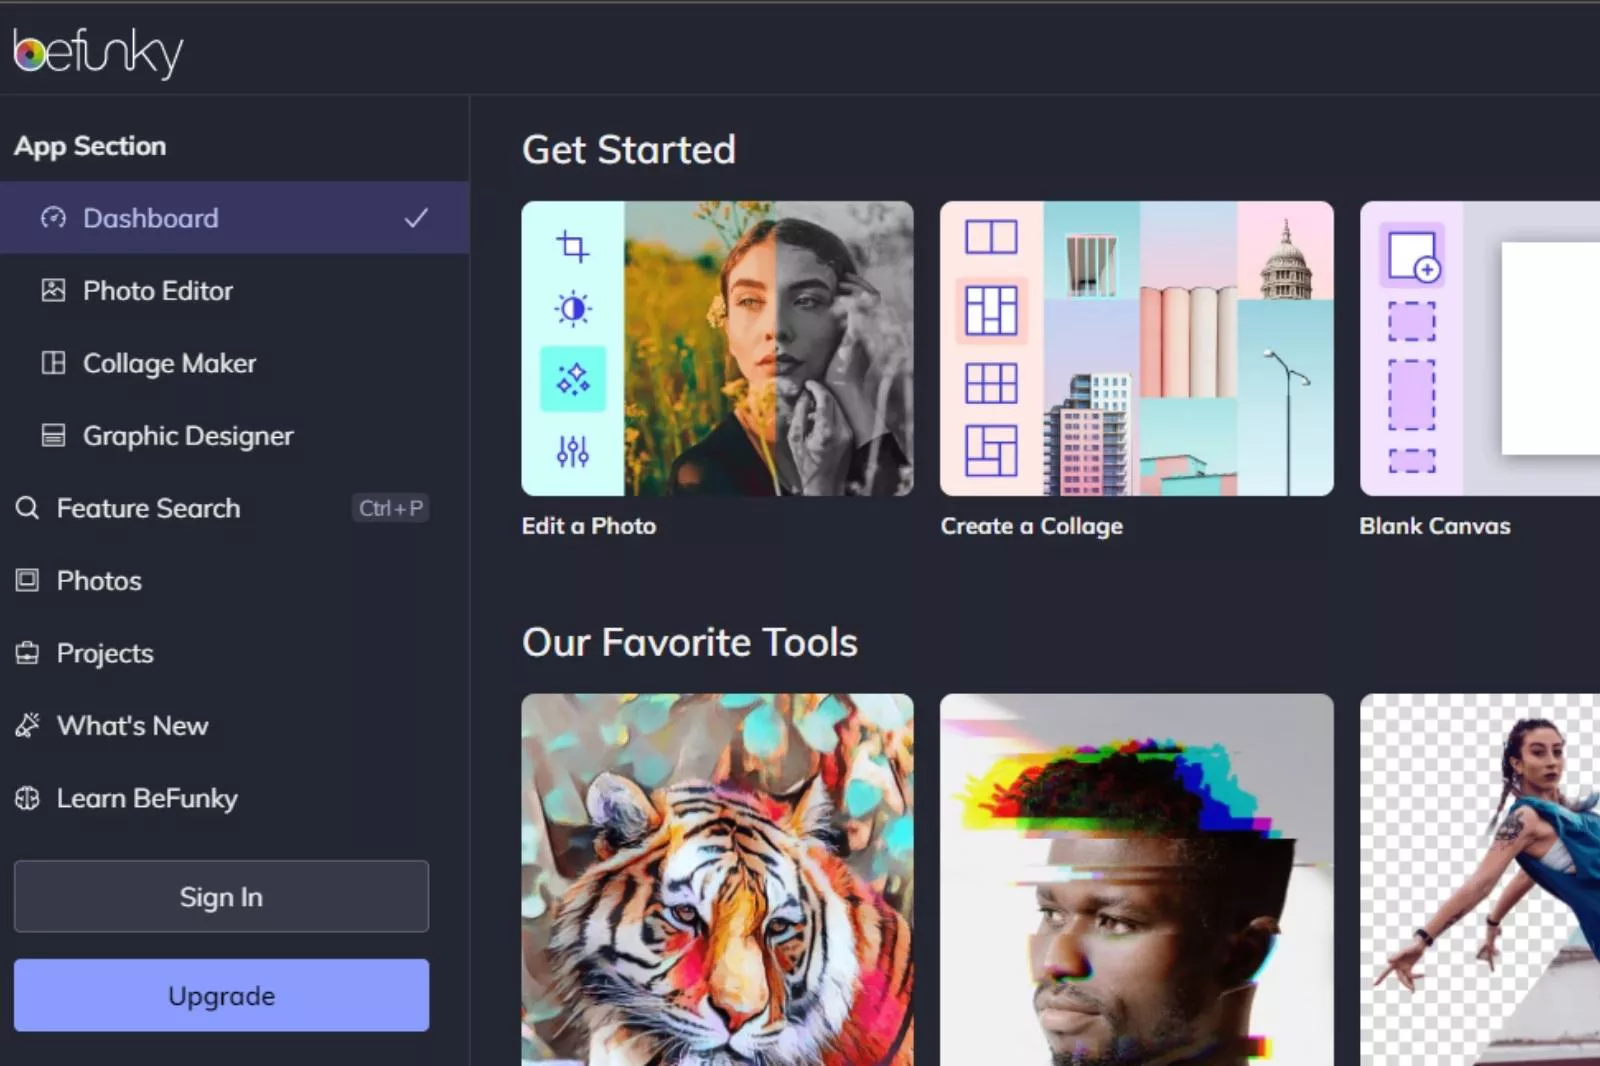
BeFunky is a powerful photo editing software offering a simple photo resizing feature. With no registration required, you can easily resize your images by indicating specific measurements or a percentage to shrink the image. This program is perfect for those who need to quickly resize their images without needing more advanced editing tools.
However, if you want to do more creative work with your images, BeFunky has you covered. With a subscription, you can access various editing options, including various effects and more advanced tools. The program also features a full-screen mode for an immersive editing experience.
While some instruments may require a subscription, BeFunky is still an excellent choice for those looking for a simple and efficient photo resizer that can be turned into a powerful editing program.
7. Simple Image Resizer
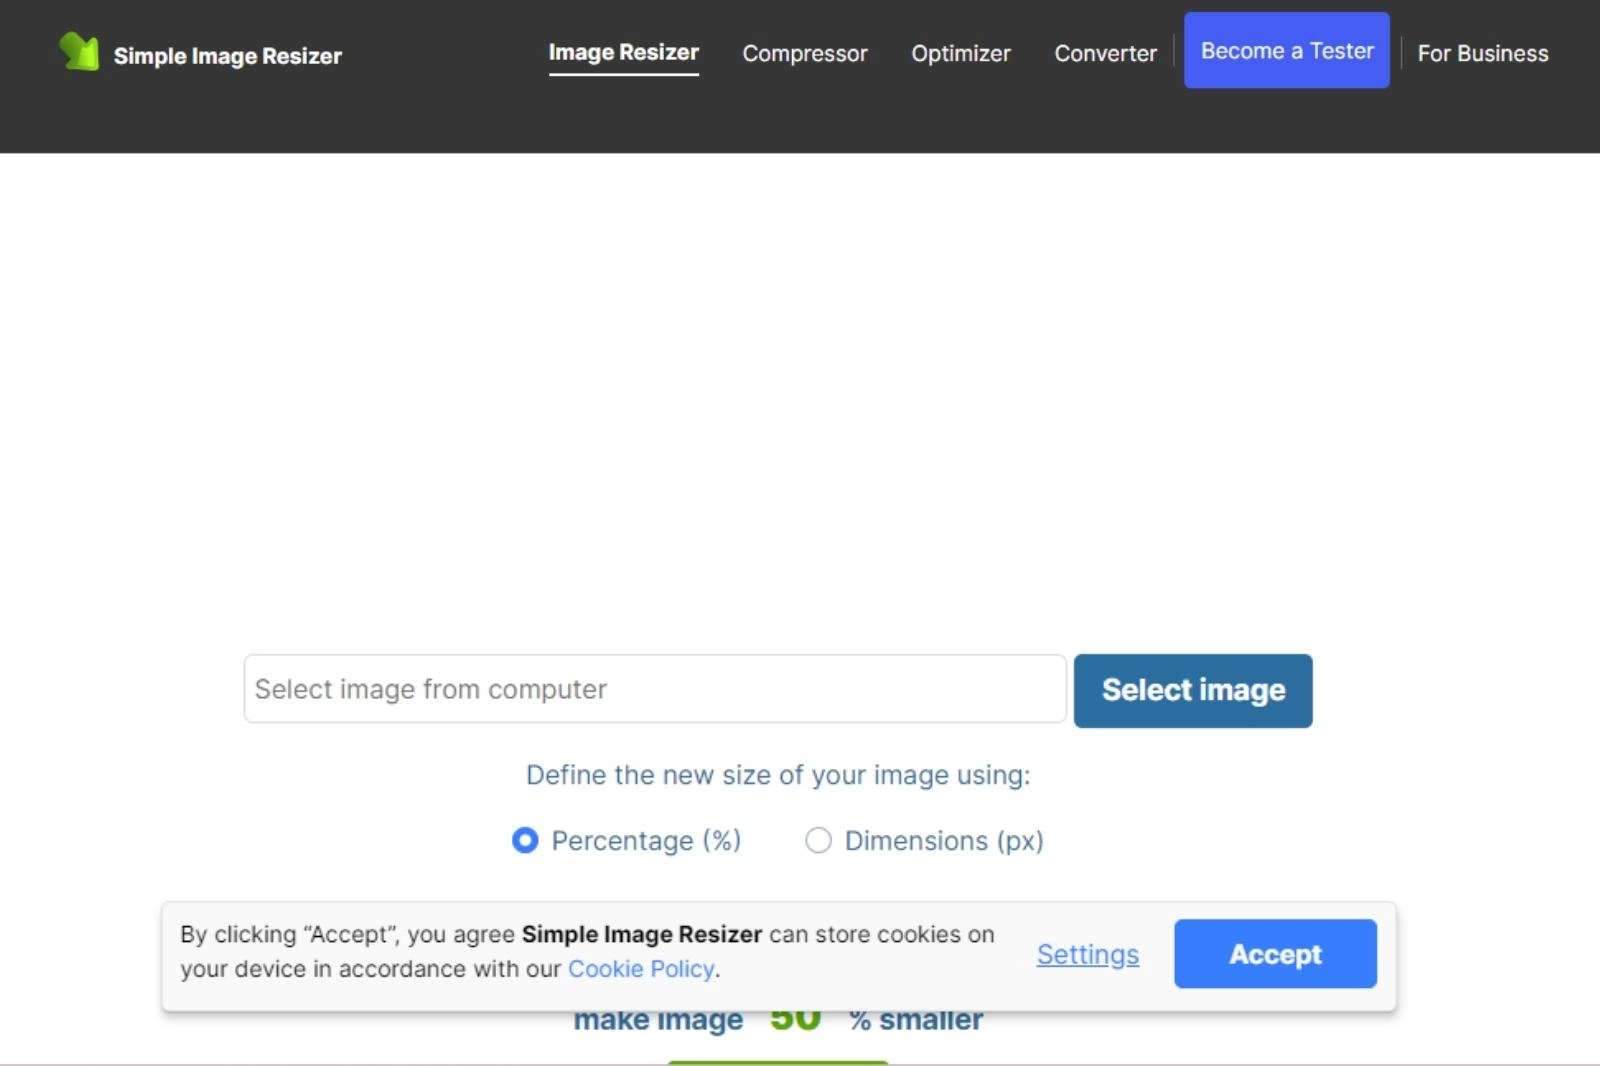
Simple Image Resizer is the perfect website for beginners who want to resize images easily. You can quickly transform your pictures into the perfect size with various cropping methods and single-click alterations. Conversion is also supported, so you can quickly convert between formats like JPG and PNG.
This website is ideal for users who need to resize images for online use but need to be equipped for batch processing. If you need to resize multiple images simultaneously, you must resize them individually.
However, the program's intuitive interface makes resizing pictures a breeze. You can choose between pixel or percentage values to adjust the size of your images, and the program will instantly show you the result.
With a Simple Image Resizer, you can be sure that your images will look great on any device. Additionally, you can use the program to convert images between different formats, making it an all-around helpful tool for any user.
Conclusion
In conclusion, optimizing images is crucial for website performance and user experience. By reducing the size of images, website load time is improved, resulting in a better user experience and potentially higher search engine rankings.
It is essential to consistently optimize images and name them descriptively to improve accessibility and aid search engines in understanding the content of a webpage.
Shrink.media provides a simple and efficient solution for compressing images with easy-to-use sliders and quick compression times. By consistently optimizing images, website owners can improve their website performance and provide a better user experience for their visitors.
FAQ's
How to optimize images for web?
To optimize images for the web, you can follow these steps. First, convert the images to the WebP format using tools like Convertfiles.ai, then, compress the WebP images further using online tools like Shrink.media to achieve even smaller file sizes without significant loss in visual quality, ensuring faster loading times for your web pages.
How to compress images for web?
Here are the most straightforward steps to compress images for the web using Shrink.media:
Step 1: Visit the Shrink.media website in your web browser.
Step 2: Click the "Upload" button to select the image you want to compress from your computer.
Step 3: Once the image is uploaded, adjust the compression settings then Shrink.media will automatically start the compression process.
Step 4: After the compression is complete, click the "Download" button to save the compressed image to your computer.
Following these simple steps, you can quickly and easily compress images for web usage using Shrink.media.
How to optimize images for website?
To optimize images for a website, follow these steps: convert images to WebP format using tools like Convertfiles.ai to reduce file size while maintaining quality, then compress WebP images further using online tools like Shrink.media to achieve smaller sizes without significant quality loss, resulting in faster website loading times.
How to compress images for website?
To compress images for a website, you can use a reliable online tool like Shrink.media. Simply visit the Shrink.media website, upload the images you want to compress, and let the tool handle the compression process.
What is the best-optimized image format for Web?
The best-optimized image format for the web is WebP. WebP is a modern image format developed by Google that provides excellent compression while maintaining high image quality.
Why do we need to optimize images for the Web?
We need to optimize images for the web because large image file sizes can significantly impact website performance, leading to slow loading times and a poor user experience. Optimizing images reduces file sizes, improves website speed, reduces bandwidth usage, and ensures faster loading of web pages, enhancing overall website performance and user satisfaction.
How to optimize images for web?
To optimize images for the web, you can follow these steps. First, convert the images to the WebP format using tools like Convertfiles.ai, then, compress the WebP images further using online tools like Shrink.media to achieve even smaller file sizes without significant loss in visual quality, ensuring faster loading times for your web pages.


