6 Ways To Compress Images On Windows 11 And 10

Many images on the internet that we see today have undergone compression for various reasons. First, image compression benefits users by providing pictures that load faster on websites or other online channels and taking less space on a web host. Secondly, the procedure of compressing images doesn’t reduce the physical size of an image. Instead, compresses the data that creates an image into a smaller size.
It is vital to upload high-quality and properly-optimized images online to get a grasp on visitors & quality traffic. If your website takes more time to load, you’re likely to lose valuable visitors, and this is where the concept of “Image Compression” jumps in. Large or heavy image files not only waste storage space on your web host and disrupt the website speed.
Customers are always attracted to a faster-loading website that brings crystal-clear & high-definition images to their screens. It eventually influences their buying decision. High-quality images larger in file size often result in slow performance and poor user experience.
Thereby, it is essential to know how to resize images without losing their quality is essential. This article discusses image compression and the best ways to compress image files in windows 11 and 10.
What is an Image Compression Exactly?
Image compression reduces a digital image’s file size while retaining as much quality as possible. Simply put, it is a process applied to an image file to decrease its size without degrading the quality. This way, you can store more images in lesser memory space. The ultimate goal is to make storing, transmitting, and displaying images easier without sacrificing the image’s quality.
Through image compression, images require less bandwidth while transmitted over the internet or downloaded from a web page. There are two main types of image compression - Lossless Vs. Lossy. Let’s take a quick look at both of them:
Lossless Compression
This image compression method is used to reduce the file size of an image without removing critical data or sacrificing image quality. The delivered compressed images can be restored to their original state without distortion.
It doesn’t reduce the file size nearly as much as Lossy compression, delivering advantages in terms of storage space, network bandwidth, and download speed. The most common Lossless compression formats are PNG, BMP, and RAW image files.
Lossy Compression
If you want to make your image file size even smaller, Lossy compression can help you. It reduces image size by permanently removing less vital information. This method can significantly reduce file size and image quality to the extent of distortion, especially if the image is overly compressed.
The most common example of Lossy compression is JPEG, a popular image format widely used on the web and in digital photography.
Why Perform Image Compression?
The main agenda of image compression is to reduce the irrelevant and destructive image data to store or transmit data effectively. It deals with minimising the number of bits required to be present in an image.
Ultimately, image compression enables us to get smaller images with no quality loss that is stored in less space. So, there is no need to invest in extra memory space. Plus, it improves a website’s speed and user experience. You can use image compression for:
- Website optimization.
- Reducing the amount of data being transmitted.
- Saving memory space on the hard drive, etc.
Look at the best ways to Compress Image Files in Windows 11 and 10.
Using Shrink.media - An AI-based online Image Compression Tool
Whenever we think of editing or compressing an image for further use, our head automatically turns towards the most popular, convenient, and common solution like Photoshop or getting the job done via professional designers.
But these solutions are not only expansive & time-consuming but also require technical knowledge like coding skills. In the end, only tech-savvy people tend to use these solutions. Here, using Shrink.media is one of the best ways to compress image files in windows 11 and 10.
Shrink.media is a free, lightweight, and AI-based image compression tool that reduces your larger image file sizes within seconds without any technical steps. All you need to do is visit Shrink.media and upload the picture you want to reduce the size and get flawless results within seconds without any quality loss.
The app of Shrink.media is available on the Google Play store and the Apple store for free to download. It is an easy-to-use image compression tool with fewer user-friendly steps. Here is the step-by-step guide to using Shrink.media:
Step 1 - As the first step, visit the tool's official website by typing Shrink.media. You can also download the Play Store/App store tool for your android/iOS devices.
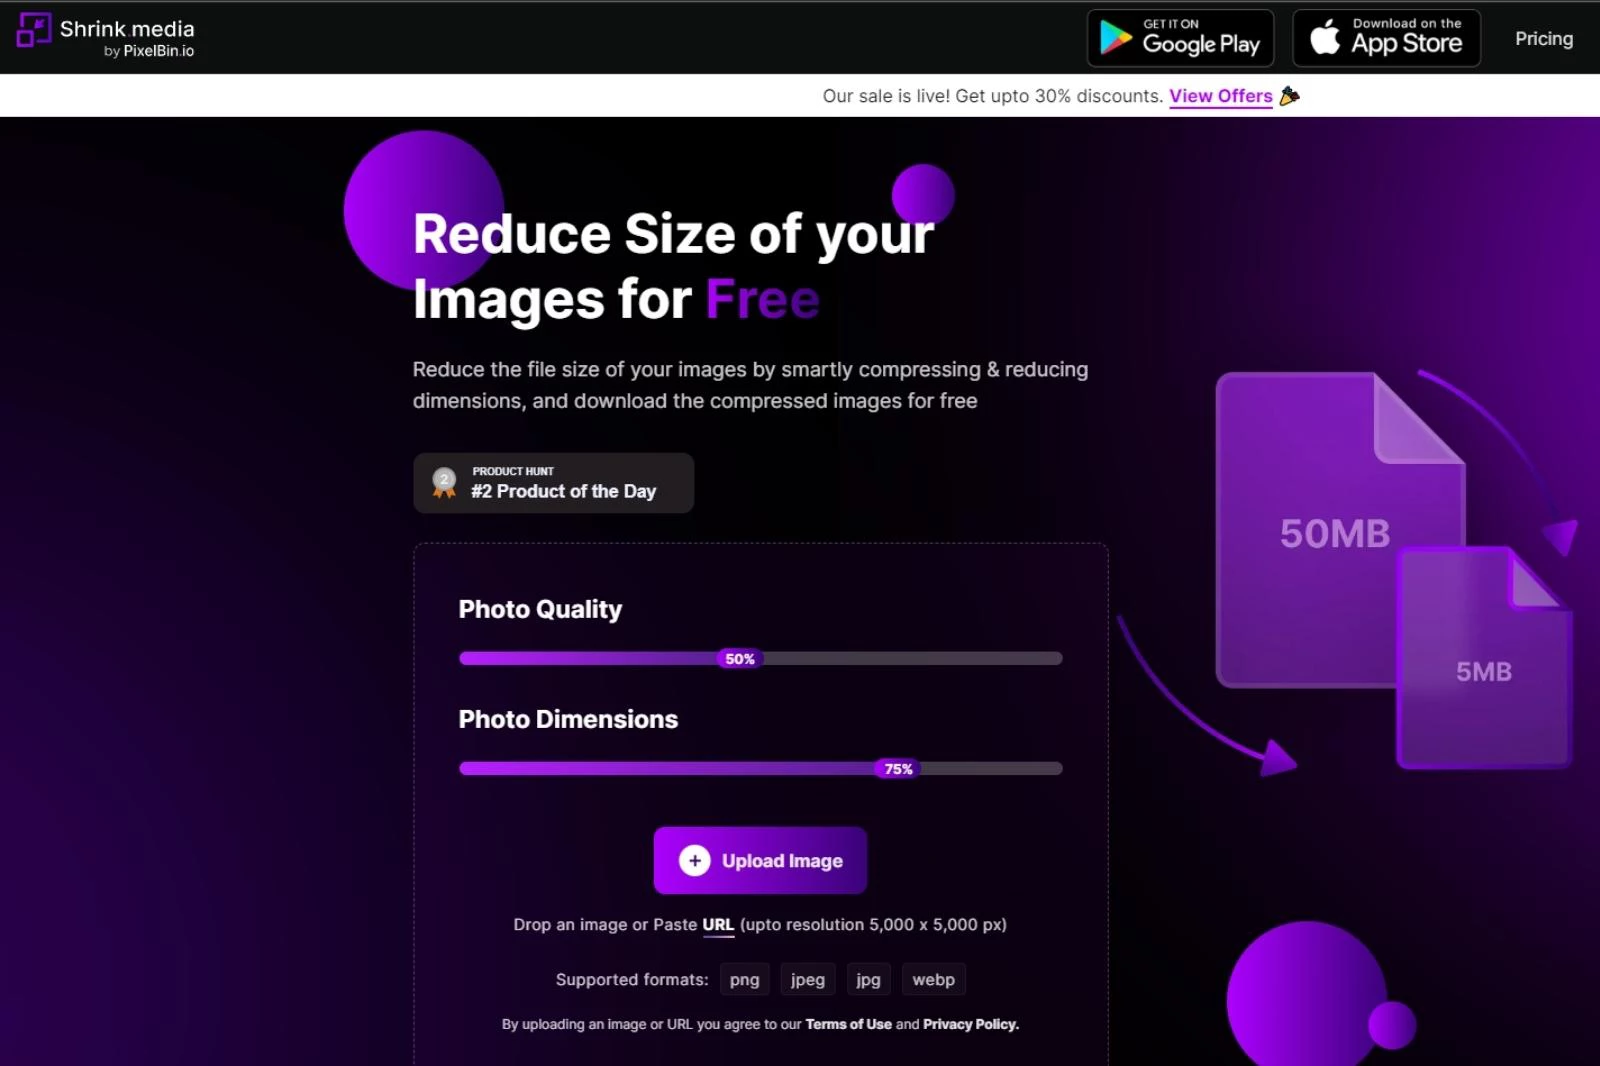
Step 2 - Open the website and adjust the Photo Quality & Photo Dimensions percentage according to your preferences. It scales from 1 to 100 (with 100 being original, maximum quality).
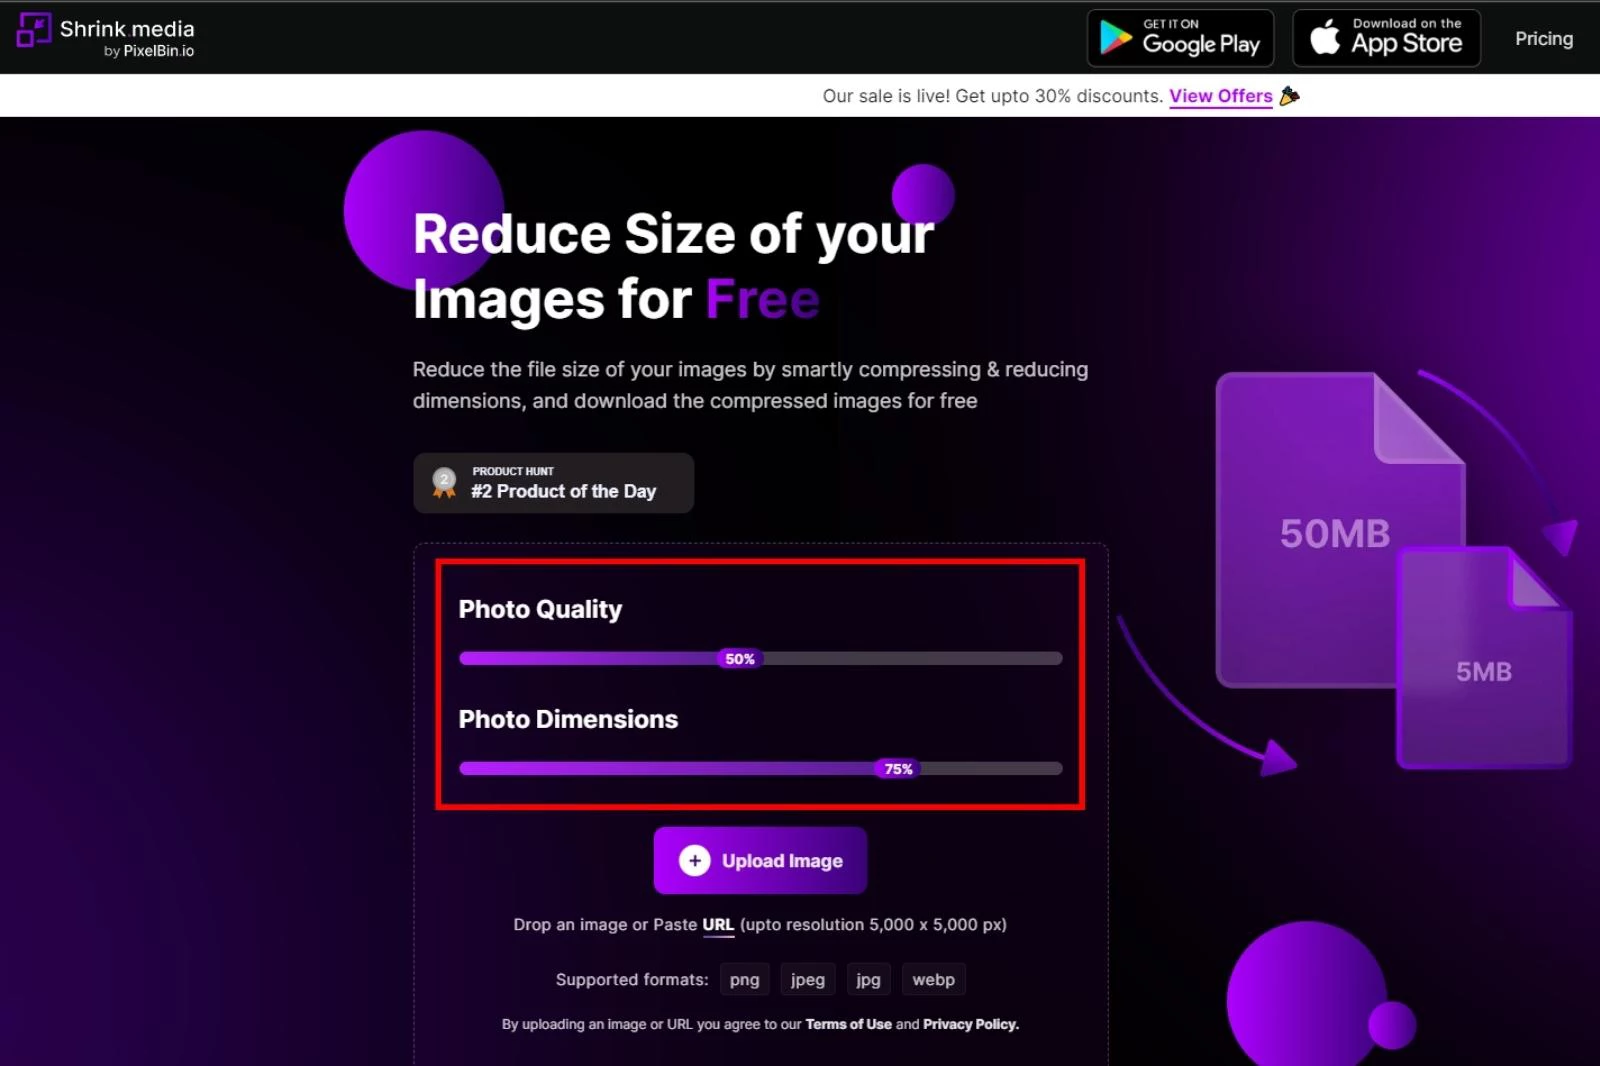
Step 3 - Now, upload the image that you want to resize. Click on the “+Upload Image” button. You can also paste the image address if you have one by clicking on the “URL” button.
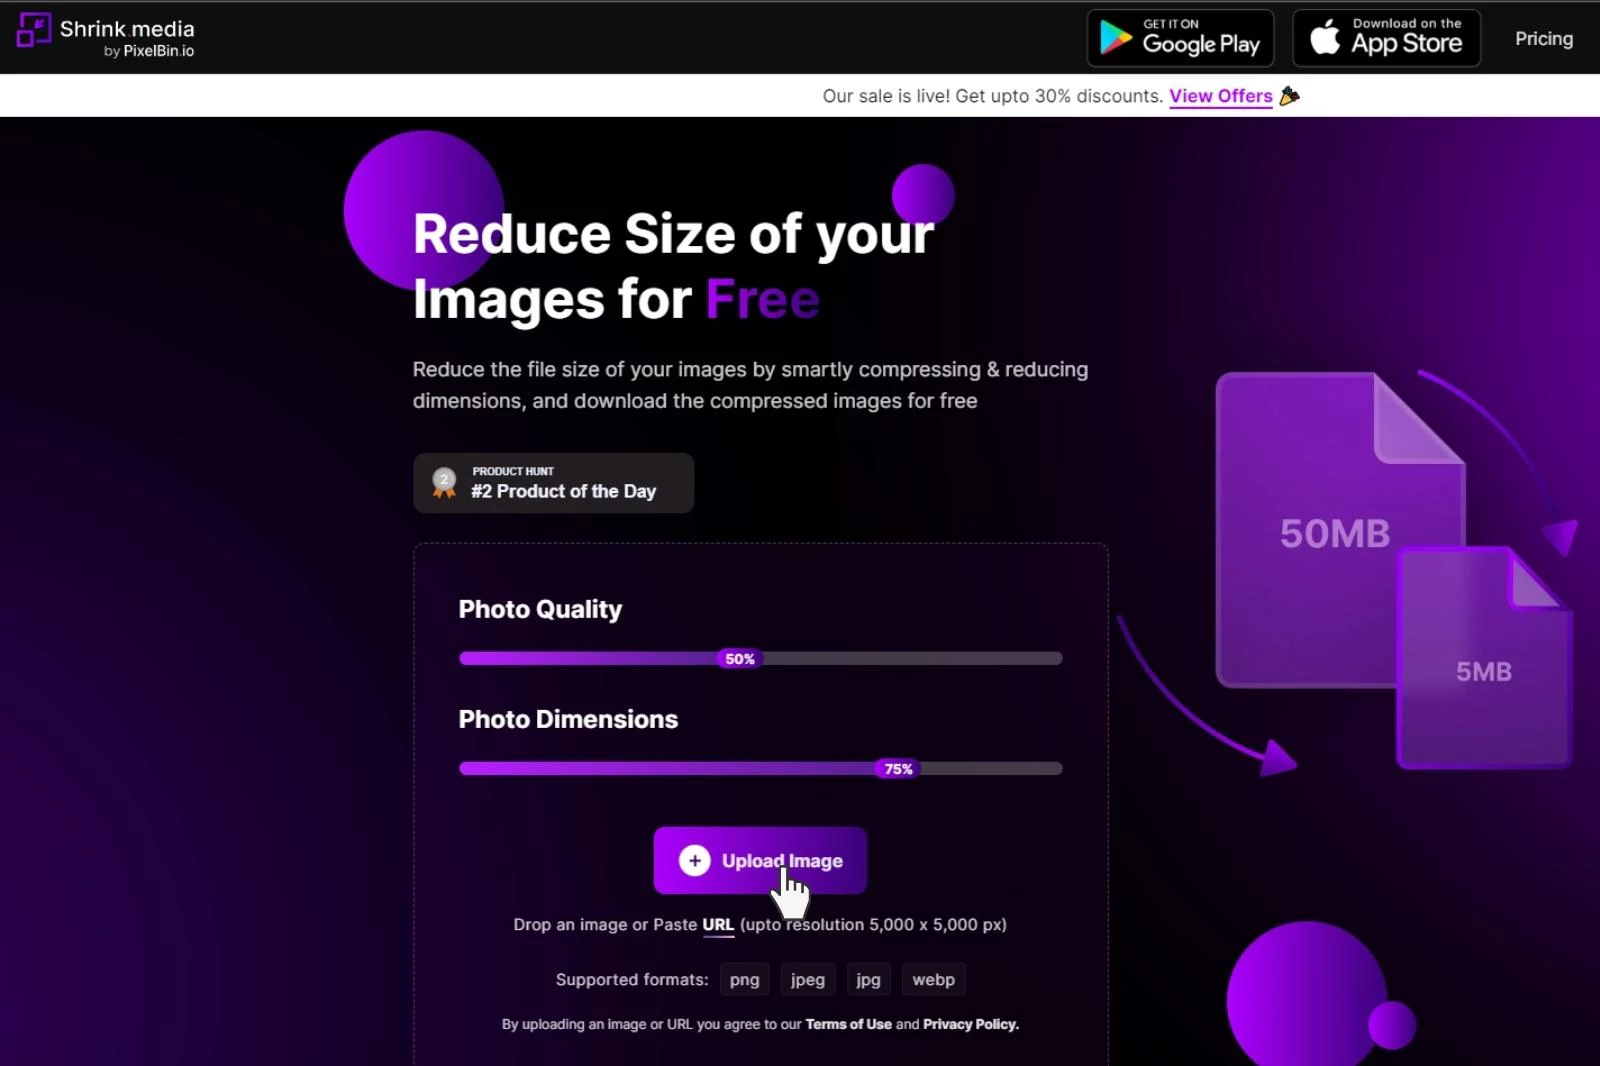
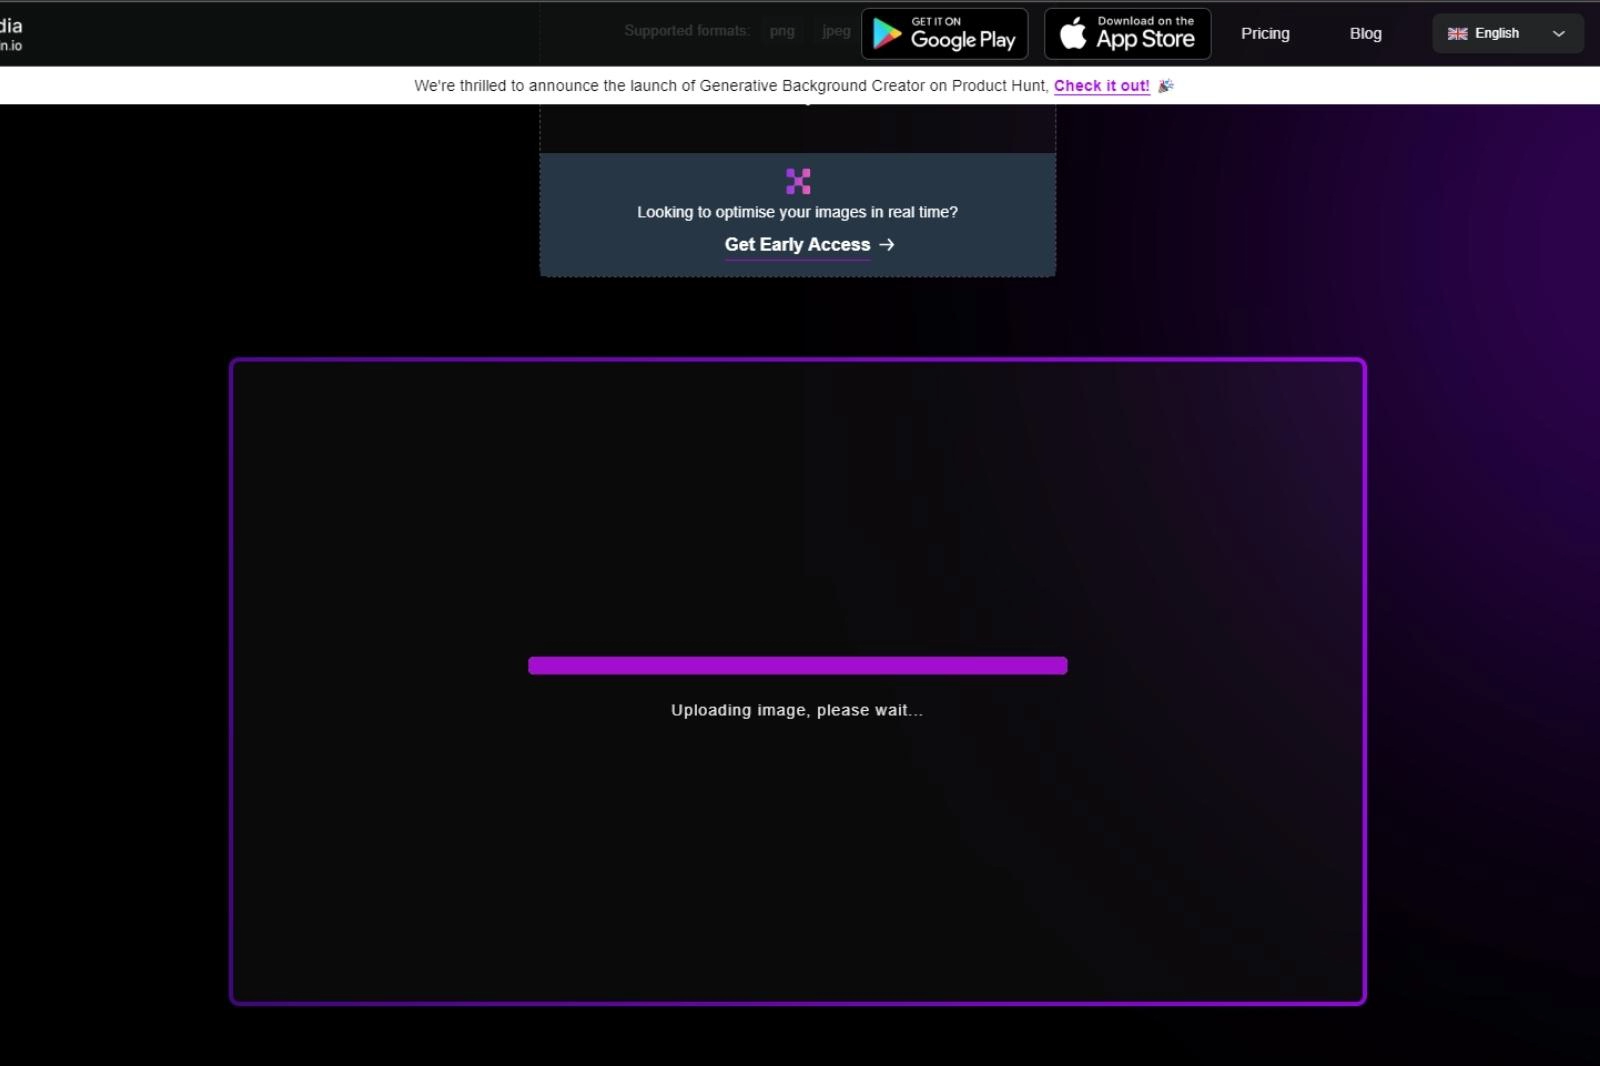
Step 4 - Now that you’ve uploaded an image or pasted the URL, wait two to three seconds. The AI algorithms of the tool will start processing. During the processing, you can see a message that reads, “Uploading image; please wait.”
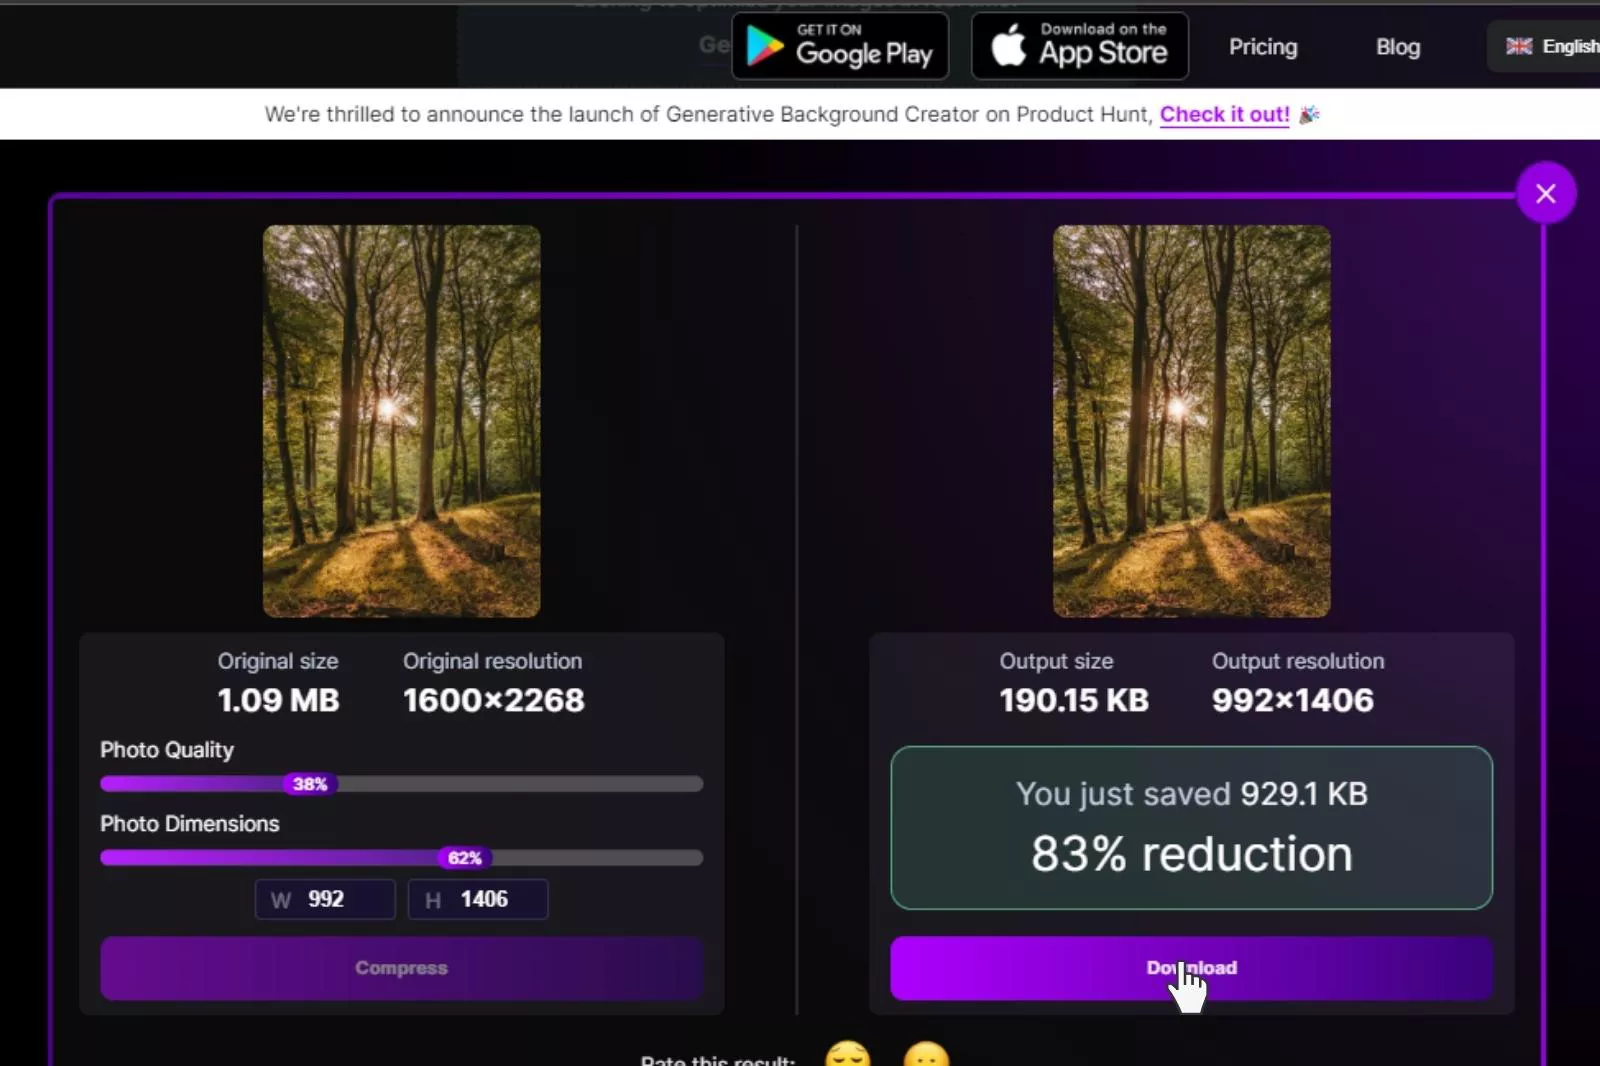
Step 5 - Now, when the processing is over, the tool provides you with a resized version of the image on the right-hand side of the website, along with necessary editing details. You don’t have to worry about quality loss as the tool retains critical detail.

Step 6 - Now, you can download the image. And if you want to make further changes, just re-adjust the slider and press the Compress option.
Advantages of Using Shrink.media
If you want a time-effective, easy, faster, and automatic way to compress images, Shrink.media is a perfect solution. Just upload the image and see the preview of compressed images to make the necessary changes immediately.
Here are the features that make Shrink.media an ultimate choice to reduce the size of an image:
- It is free, easy, and gives faster results.
- No quality compromise.
- Works on AI to automate the task.
- No manual editing is required.
- Easy to understand user interface so that anyone can use the tool to edit or reduce their images without technical know-how.
- No advanced knowledge or coding skills are required.
- It can process multiple images at a time in the paid version. So you can save time and energy.
- It supports various image formats, including PNG, JPEG, JPG, and WebP formats up to the resolutions of 5000 x 5000 px and 25 MB.
- It is free to download for all your android/iOS devices.
- Gives 50 credits per month in its free version.
- The app provides a real-time preview of the selected images so that you can perform re-adjustments if necessary.
- You can compress images for profile photos, social media visuals, presentations, etc.
Now you aren’t required to struggle to get your images compressed via Photoshop or hire professional designers. Download the Shrink.media app and get the task anytime from anywhere, regardless of the image size. It is a product by Pixelbin which offers various other tools like watermark remover, image upscale and background remover, etc.
Compress Image Using Microsoft Paint
MS Paint is one of the most user-friendly and easiest ways to compress image files in windows 11 and 10, especially if you don’t want to compromise the image quality. The Paint app in Windows 11 includes many options to reduce the width and height of images.
Here are the steps that you can follow to reduce image file size using MS Paint:
Step 1 - Click on the Start menu and search for Paint on Windows.
Step 2 - Go to the File menu, and select Open.
Step 3 - Upload an image that you want to resize, and press the Open Button.
Step 4 - From the Home tab, select the Resize and Skew icons.
Step 5 - Select the Percentage radio button and adjust desired figures in the Horizontal and Vertical boxes to reduce the image size. For example, your image will start at 100 for both the vertical and horizontal values, so adjusting these to 75 will compress the image to three-quarters of its original size.
However, if you know the exact horizontal or vertical pixel counts, you can click the circle next to Pixels instead.
Step 6 - Also, ensure a checkmark in the box next to “Maintain aspect ratio,” then set the width and click OK. Otherwise, any changes you make to one aspect of your image will not proceed with other aspects.
Step 7 - Click on the OK button to exit the Resize window.
Step 8 - Click File and Save the image.
Pros And Cons of Using Microsoft Paint
Pros:
- MS Paint can be used for basic drawing and shape manipulation.
- It is simple to use without any complex steps.
- You do not have to buy anything to use MS Paint. The program has always been free.
- It has various features, such as users can resize, rotate and merge images. It also has a small set of brushes, pens, and other drawing tools.
- It supports many popular image formats, such as JPEGs and GIFs.
- It allows quick resizing of an image compared to other programs.
- The program is compatible with all devices.
Cons:
- Unlike other professional image editing tools, it does not support multiple layers.
- It has no filters or retouching options.
- It doesn’t have a smudge tool.
- It only works on Windows computers only.
Reduce Image Size By Cropping Image In Microsoft Paint
Apart from reducing the image’s dimensions in MS Paint, you can also use its cropping tool to erase the unwanted outside edges of the image. It is one of the interesting ways to compress image files in windows 11 and 10. Since cropping removes some of an image, it also reduces the overall data size of its file.
Here are the steps that you need to follow to reduce image size by cropping in MS Paint:
Step 1 - Open Paint on Windows 10 or 11 Start Menu, and upload your image by clicking File and Open.
Step 2 - Click on the Select tool. Choose the Rectangular one, and if you want to draw your image selection, go for the Free-form selection instead.
Step 3 - Drag the editing box on the image to select the area you want to crop. Press on Crop to cut the area out of selection from the image. It will remove everything outside of the dotted box, leaving only the selected part of an image.
Step 4 - Click the Resize menu on the Home tab to lower the image’s resolution by reducing its dimensions.
Step 5 - Open the File Menu, go to Save as, and pick JPEG image format to save the image.
Compress Image Using Windows Photos App
The latest Windows 11 allows you to access several options to compress or reduce a large image file size. For example, you can use the classic built-in Paint app. However, the easiest solution to adjust image resolutions or create high-quality pictures smaller on Windows 11 would be using the Windows built-in photo editing tool called Photos app.
It is one of the best ways to compress image files in windows 11 and 10. Take a look at the steps to follow to use Windows Photos App:
Step 1 - Find the image that you want to resize in Windows File Explorer.
Step 2 - Right-click on the image and select Open with > Photos to open the picture with the Windows Microsoft Photos app.
Step 3 - Once your image is opened in the Photos app, click on the See More button, a triple horizontal dotted icon. Go to the Resize option from the drop-down menu.
Step 4 - Here, you will be presented with the optimized image presets to select an output image resolution with the required width and height. For example, if you want to send the image via email or messages, you may select “Best for emails and messages.”
Step 5 - Select a size that best suits you with the image. If you prefer manually enter a custom dimension, select “Define custom dimensions” instead.
Step 6 - You can manually enter the custom dimensions you want to resize the image here. Remember, the lesser the quality, the smaller the file size of the resized outcome.
Step 7 - Make sure you keep the Maintain aspect ratio enabled.
Step 8 - After choosing a resizing option, select a location where you want to save the resized version of the image.
Step 9 - Try to give it a different name so that you don’t overwrite the original copy of the image.
Compress the Image in Microsoft Word
If you are looking for ways to compress image files in windows 11 and 10, you can use Microsoft Word documents to compress or reduce the large file sizes of images. The built-in Word Compression features let you reduce the file size and image dimensions based on your goals to use the picture further.
To decrease the size of a larger image, here are the steps that you need to follow:
Step 1 - On your Windows 11, open the MS Word document containing the image you want to compress and select a photo.
Step 2 - Navigate to the “Picture Format” tab on the Home screen. Go to the Adjust Group and click Compress Pictures.
Step 3 - Make sure you select the “Apply only to this picture check box” if you want the compression to apply to only one image you selected under the “Compression Option.” If you uncheck this option, it will compress all the images in the document.
Step 4 - Under the Resolution Option, select the resolutions that you want to incorporate into your image. Then, click the OK button.
Step 5 - The image in your Word document will now be compressed.
Compress Image Using RIOT
RIOT (Radical Image Optimization Tool) is an online image compression tool that reduces an image file size into JPG, PNG, or GIF formats. You can also process PSD and BMP files. It has an easy to understand user-interface where you can compare the compressed results with the original ones in real time.
The online image optimizer is lightweight, fast, and simple. Also, you can control compression, the number of colors, metadata settings, and much more, including batch operations, transparency options, and common editing features (flip, rotate, zoom, pan, etc.).
This free image optimization tool for Windows makes it easy to compress or resize files within a few clicks. You can browse and open an image or just drag & drop it into the RIOT program. The dual-panel view allows you to compare the original file size. Here are the steps to use RIOT for image compression:
Setting Up RIOT:
Step 1 - Search for RIOT software in your browser. Many links appear, out of which you need to download the app by clicking on the top link.
Step 2 - After this, a page will be opened where RIOT software will be displayed. Click on the download option on its right side.
Step 3 - The Free download for PC option will appear. Click on it, and a dialogue box with a Save or Cancel button will be there. Click on Save to download the software and install it in your system.
Step 4 - Click on the Run > Next button to install it.
Step 5 - Select the I Agree button, and the software will be installed on your PC.
Compressing Image Using RIOT:
Step 1 - Now, open RIOT and click the Open button on its home screen to insert the picture you want to compress. You can also drag the image here.
Step 2 - The image will be displayed in two parts - the original image and the Optimized image with the size of both.
Step 3 - Below you will see a Quality button that you can use to adjust the size of your image.
Step 4 - After reducing the size, click on the Save button.
Compress Image Using Powertoys
The Image Resizer Windows 10 PowerToy allows you to resize images in bulk that integrates directly with File Explorer. Within a few clicks, you can compress images to preset sizes or any custom sizes you prefer. It also has encoding options designed to help more advanced users.
It lets users easily pick colors, rename multiple files, and bulk resize images. Let’s see how to make pictures smaller with Powertoys:
Step 1 - Download and install the Powertoys extension file from the GitHub page as one of the best ways to compress image files in windows 11 and 10.
Step 2 - Once installed, open Powertoys by pressing the Start button and searching for it in the menu.
Step 3 - Go to the Powertoys settings and click on Image Resizer. Turn the “Enable Image Resizer” button ON.
Step 4 - Select images from file explorer, and right-click on them. Choose Resize pictures.
Step 5 - Select a size in the Powertoys image resizer window from current presets. For example, you can change it to Small, Medium, Large, or Phone size.
Step 6 - Select a preset size, or go for a Custom size to enter the desired width and height.
Step 7 - Now save the resized image to apply all changes.
Conclusion
Now you know what image compression is and how it benefits users striving to survive in the digital world. A brand’s website acts as the first source of communication for its visitors; thereby, providing users with a satisfactory navigating experience becomes extremely important. Reducing image file sizes via image optimization directly affects a website’s page loading speed and online traffic.
Though various online tools & software are available in the market to help you compress an image, using Shrink.media is far easier, & faster. It works on AI, automating the process and leaving no space for manual editing. Download the app now and see the difference for yourself.
FAQ's
Which is the best image size compressor?
Here is a list of 5 best image compressors:
1. Shrink.media
2. TinyPNG
3. Compressor.io
4. JPEGmini
5. Kraken.io
How to compress images?
One of the best options is to compress images using Shrink.media. Simply visit the Shrink.media website, upload the images you want to compress, and let the tool handle the compression process. Shrink.media is known for its efficient image compression capabilities, allowing you to reduce the file size of your images while maintaining satisfactory image quality.
How to compress image size?
To compress the size of an image, the easiest way is to use Shrink.media, one of the best image compressors available. Follow these simple steps:
Step 1: Visit the Shrink.media website in your web browser.
Step 2: Click the "Upload" button to select the image you want to compress from your computer.
Step 3: Once the image is uploaded, you can change photo quality. Shrink.media will automatically begin the resizing process.
Step 4: After the compression is complete, click the "Download" button to save the compressed image to your computer.
By following these steps, you can easily compress the size of an image using the efficient and user-friendly Shrink.media image compressor.
How do I compress photos in Windows 11?
One of the best ways to compress photos in Windows 11 is to use an online tool like Shrink.media, where you can upload your photos and let the tool compress them.
How do I reduce the size of a photo in Windows 10?
To reduce the size of a photo in Windows 10, you can use the built-in image editing software called Paint. Open the photo in Paint, click the "Resize" option under the "Home" tab, adjust the dimensions or percentage to decrease the size, and save the changes. Alternatively, you can use online image compression tools like Shrink.media by uploading the photo, allowing it to compress the image, and then downloading the smaller version.
How to compress image without losing quality?
To compress images without losing quality, the best online tool is Shrink.media. Upload your image to Shrink.media, and it will apply advanced compression techniques that maintain image quality while reducing file size. This ensures your image retains its visual integrity while occupying less storage space.
Which is the best image size compressor?
Here is a list of 5 best image compressors:
1. Shrink.media
2. TinyPNG
3. Compressor.io
4. JPEGmini
5. Kraken.io


